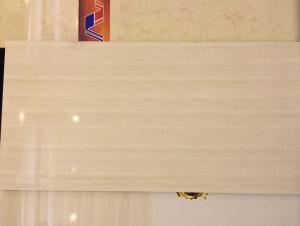
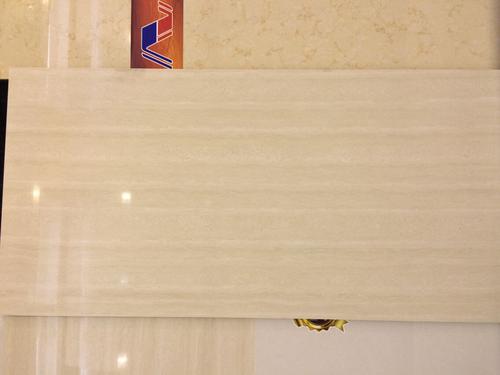
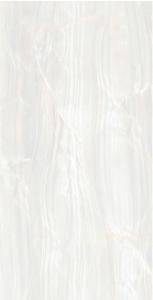
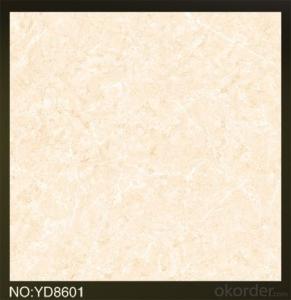
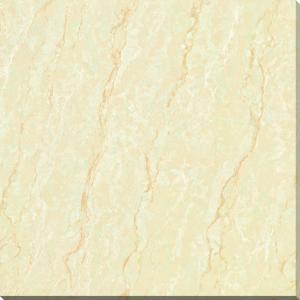
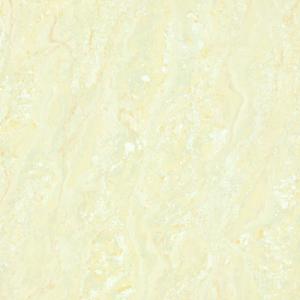
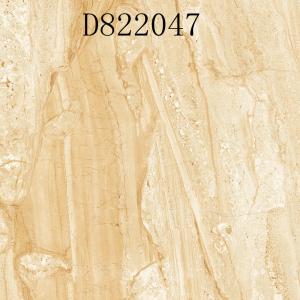
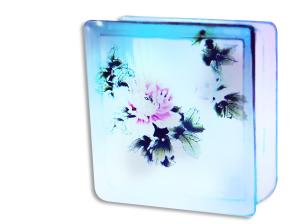
High Glossy Polished Porcelain Tile Particle Line Stone
- Loading Port:
- Guangzhou
- Payment Terms:
- TT OR LC
- Min Order Qty:
- 500 m²
- Supply Capability:
- 100000 m²/month
OKorder Service Pledge
OKorder Financial Service
You Might Also Like
Product Brief Introduction
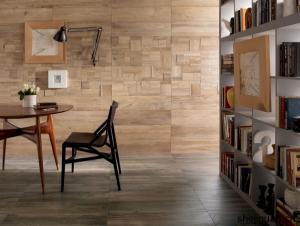
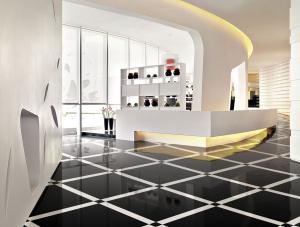
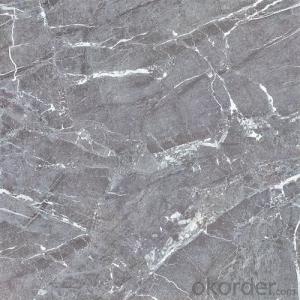
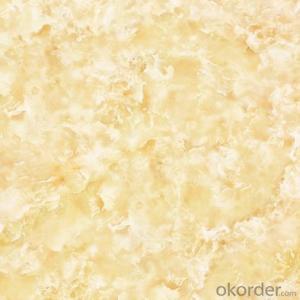
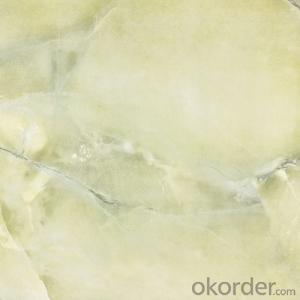
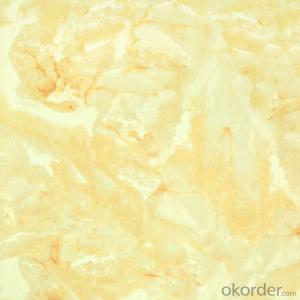
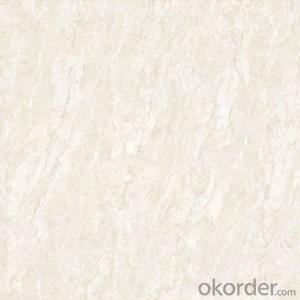
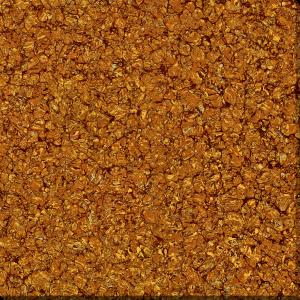
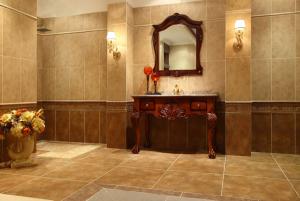
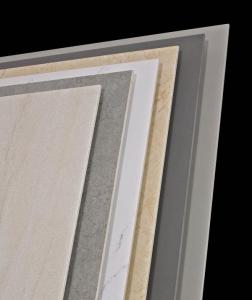
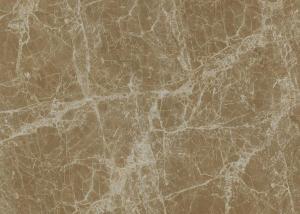
HIGH GLOSSY POLISHED PORCELAINT TILE PARTICLE LINE STONE SERIE is one of the most popular series of Polished Porcelain Tile in the present market. Just like other series, it could be used for interior floor for apartment, villa, super market as well as other public areas, due to its being high glossy and clean, homogeneous color shade as well as the reasonable price compared with natural stones.
Product Features
Polished Porcelain Tile, Double Loading
Only Grade AAA available
Strict control on color shade, deformation, anti-pollution, surface glossy degree as well as packing
Competitive price
Standard export packing: Pater Carton+ Wooden Pallet
Fast delivery
OEM service could be offered
Marketing support on samples, catalogues as well as carton designing
Professional sales team for product, document and schedule of importing and exporting.
Product Specification
Tile Type: Polished Porcelain Tile
Quality standard: GB/T4100-2006, ISO13006, ISO9001
Water Absorption Rate: 《0.5%
Breaking Strength: 》 1800 N
Rupture Modulus: 》40 MPa
Length and Width Tolerance: ±0.1%
Surface Smoothness: ±0.15%
Edge Straightness: ±0.15%
Wearing Strength: 《1600 mm3
Glossiness: 》 85 Degree
Resistance to Chemical: Class UA
Resistance to Staining: Class 3.
Packing Information (For 27.5 Tons heavy 20’Fcl)
For 600x600mm, 4pcs/Ctn, 40 Ctns/Pallet, 960 Ctns/20’Fcl, 1382.4m2/20’Fcl
For 800x800mm, 3pcs/Ctn, 28 Ctns/Pallet, 616 Ctns/20’Fcl, 1182.72m2/20’Fcl
Production Line & Package
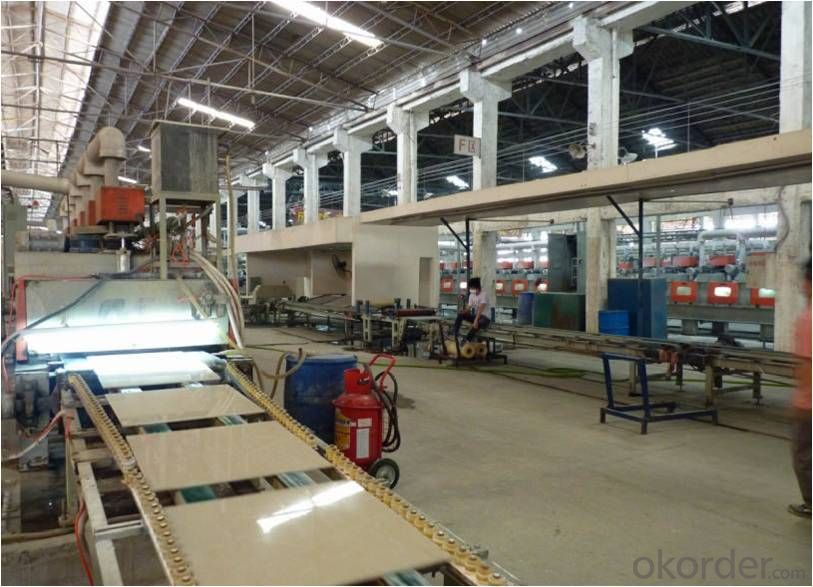
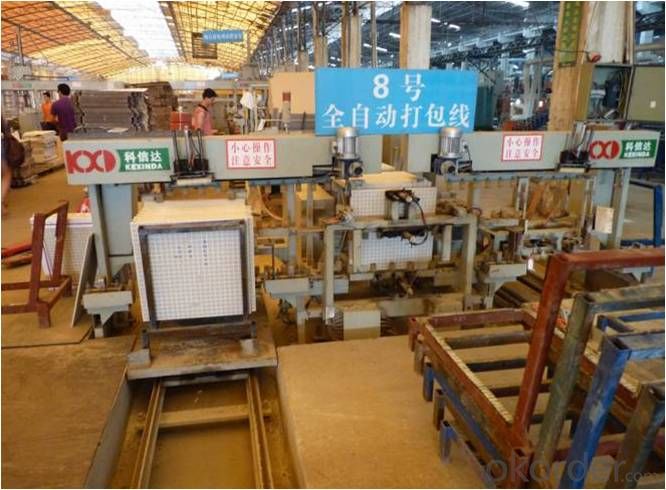
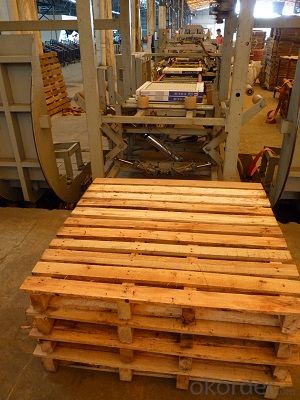
FAQ
1. For Polished Porcelain Tile, why is there shade problem?
—— The shade problem comes out of different production batch mainly. Besides, it could be caused by the unstable temperature, the quality of grinding heads etc.
2. What is the MOQ for this tile?
—— Normally the MOQ is 1382.4 m2 for one 20’ container. To support our clients, we could go with 3 models to fill one container at most.
3. Can we use the carton with our own design and brand name?
—— Yes. Normally we go with Neutral Carton or our Carton with our CMAX brand name. But for carton of client’s own design, the MOQ for one size is 5 containers, due to the carton factory can’t arrange production if quantity is below 5000 pcs.
- Q: How can you cover ugly wall tiles??
- The best way is to have them refinished (if they're ceramic). You can have a contractor do this or there are kits available to accomplish this as well. Similar to refinishing a bathtub.
- Q: My house is in the top floor, the water pipe in the bathroom, and then all the water pipes in the bathroom are clear, the new house, the ground with a tile, surrounded by walls and tiles, no shower or something, the bathroom put a Taiwan washing machine, a Faucet, the ground water is generally the washing machine drain row to the ground and then flow through the water hole. Now the situation is not posted on the side of the tile watermark, the walls of the white putty from the package off. After inspection found the gap between the tile is white, because the tile is white. Suspected to be caused by seepage between the cracks. Do not want to tear tiles to re-engage. Is there a good way to solve it? Buy a private room, certainly not done waterproof
- Therefore, the experts suggested that we not only to the correct use, but also the right to buy, and truly for their new home from the "son" began to take responsibility for the long-term you can really benefit the brand and products. Choose Oulia Tile Series ● excellent quality: tasteless, non-toxic, environmentally friendly; tiles never fall; strong adhesion, high flexibility, resistance to displacement / settlement. Save time and money. The use of "Oulia" tiles per worker can be completed every day about 30 to 40 square meters of tile paving works, and the traditional method of construction, each worker can only be completed daily 5 to 8 square meters of paving. Per square meter tile can save more than 50% of the cost, the more use, the lower the cost. ● Wide range of applications. OLY Oulia tile plastic products with a wide range of applications, can be applied to the bathroom, kitchen and other interior decoration, gardens, balconies and other exterior decoration, as well as wall decoration and so on.
- Q: I‘m looking to buy black and off white tiles for my kitchen walls and just wondering does anyone know where is cheapest?? and which tiles are best??? please help its my first time doing up a house and iv no idea which ones to get or where to buy them.. and we‘re on a very tight budget:( thank you:)
- Cream and black is present the two very impartial. almost any coloration might artwork. the place you reside would dictate what's appropropriate. once you're in a southern territory you could choose a superb cooling pastel. while you're in a northern section a wealthy deep heat coloration could be solid. think of roughly what hues you like. carry the swatch at palms length and visualize it on the wall. this might help you with the final result. stay remote from greys and browns. deliver a 2d accessory coloration into the room with some selection desktops. a colourful vase, pot rack, or possibly a kitchenaid equipment can stand out as an accessory coloration. have relaxing and make constructive in spite of coloration you choose it particularly is what you sense delicate with (you would be the single residing in it). one extra situation- phychologically vegetables cut back urge for foodstuff and oranges advance. Michele
- Q: I want to use the tiles for a back splash in the kitchen. Is there a reason I have to use the spacers? Why can‘t I put them where they are touching each other? I‘m not using them on a floor. I don‘t like the look of the space between the tiles.
- It is partially for support(adherence to the wall) and also your wall 'breathes' and expands(small amounts)during the year. Having more grout between the tiles ensures a better % chance that they stay on the wall and also allows a slight flexiblity(although it doesn't look like it), for small shifting of the wall. The minimum space would be 1/8 for grout joints. It also depends on the size of tile one is using on the backsplash.
- Q: Does anyone know how to refinish or paint ceramic tile? Or a website showing me how? Please help! =)
- My okorder for info on that one. We did that years ago....and it works for a while. It is not a permanent solution however. I remember we had to clean it really good with TSP rinse, then sand it clean again with TSP rinse let dry, and then using I think an enamel paint to paint it. That takes awhile to dry too like a few days, and re-coat it. And let that dry for about 4 more days...It did work for a few months or longer as I remember....but we ultimately tore it out and re did the tile.
- Q: Hi Folks,Currently I have a bath tub with a vinyl shower surround. I‘m considering removing the shower surround and replacing it with tile.I‘m just wondering how big of a job this is? I‘ve never tiled before but consider myself handy and have done plenty around the house.Of note, I don‘t believe proper backboard is underneath the surround so I‘d have to put that up also. I‘ve put drywall up in the past so I think that part should be ok.So...is this a do it yourself job? Or is this something that needs to be hired out for. Seems like it should be simple, but maybe I‘m missing something and it gets complicated or difficult to make come out nice?Also, how long should this take if I did it myself (days and hours per day) and how long before I can start using the shower again.Thanks!
- Start by getting a good tile book that throughly covers shower stalls. I recently remolded a bathroom that started as a simple hey lets tile the shower project. The job can get as big as you make it. In my case I pulled out the standard shower shell existing bath tub, knocked out a closet and turned a standard shower stall into 30 sf showering paradise with a jucuzzi bathtub. First of all, anything you put tile on besides concrete has to have a cement board behind it! (Hardibacker or similar-available at your home improvement stores). There will be lots of dust from removing any existing drywall so use a good quality mask like a painters mask too. I would plan on it taking a couple months if you plan on working on it during the evenings or weekends. My project took nearly 6 months of evenings and weekends and forced my wife and I to share a bathroom with 2 kids-worth it in the end but I probabbly wouldn't go thru it again. If you remove your old shower, you'll be dealing with an new drain as you'll have to build the foundation for the tile out of deck mud. Lowes' or Home Depot did not carry deck mud so I bought my from the local tile store. You can mix you own as a lot of web sites have lots of info on this but I bought mine premixed. You can use the existing shower pan but I preferred the feel of tile vs. the shower pan, not only that my shower is a completely custom shape so I couldn't get a pan to cover it. If your not sure how to build the base, stick with the pan or you can mess up things and end up with leaks that you do not want.
- Q: I have three ceramic tiles that need a special curved cut. I‘m just looking for some place where I can take the tiles in and they cut them for me onsite and I walk out with my cut tiles. Home Depot doesn‘t offer this service. Who does? I live in Atlanta.
- Try your local flooring stores. The store I work in cuts tile so I would assume most flooring stores could.
- Q: I tiled my fireplace and mixed the grout according to the right measurements. now a whole section of it is crumbling... can someone tell me why this is and what to do - thank you
- When you say on the fireplace, I assume you mean the face of it. Without seeing it , it's hard to tell. I can only suspect that you used too much water in the mix, causing it to be weak. Or possibly the heat from the fireplace is expanding the tiles and causing the grout to pop out.
- Q: I only have a couple of tiles in my shower to grout. I bought some pre-mixed tile grout from Home Depot. It says on the back NOT FOR USE IN SHOWER OR UNDERWATER. I called home depot and they said it would work if I were to seal it. As many know sealer is very expensive and I‘m only doing a couple of tiles that will be exposed to water. Do I have to seal this? I understand there exist grout with sealer already inside.....
- You can get grout sealer in a small tube at Home Depot. If you don't seal these few tiles, you could be creating a larger problem for yourself down the road. Go for the expense, or risk doing damage to the backer board.
- Q: I just finished grouting my tile yesterday I want to remove the haze with vinager should I let the grout cure for three days,then seal it and then scrub the whole floor including going over the grout lines (which would be then sealed) scrubbing with a sponge and avoiding the non cured grout is working but is taking far too long
- Clear water should work. You're supposed to get all that off before you leave it to dry. Do seal it after the curing process. Even dark grouts get dirty. Sealing helps a lot.
Send your message to us
High Glossy Polished Porcelain Tile Particle Line Stone
- Loading Port:
- Guangzhou
- Payment Terms:
- TT OR LC
- Min Order Qty:
- 500 m²
- Supply Capability:
- 100000 m²/month
OKorder Service Pledge
OKorder Financial Service
Similar products
Hot products
Hot Searches
Related keywords
