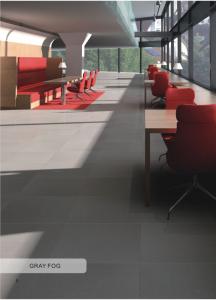


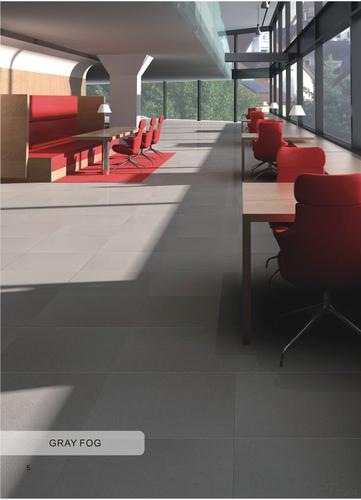


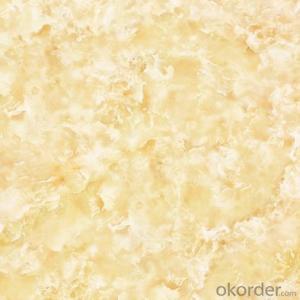
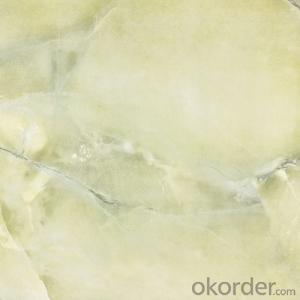
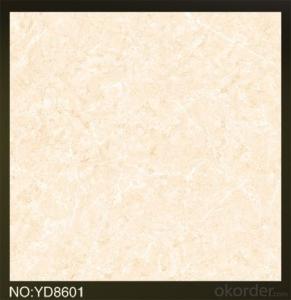
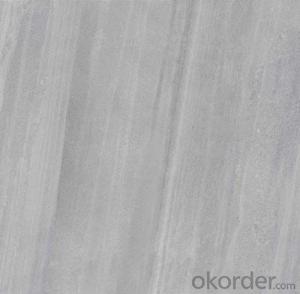
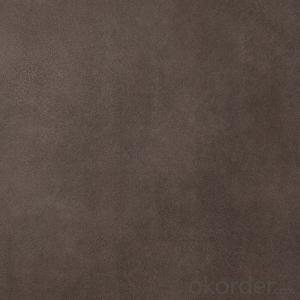
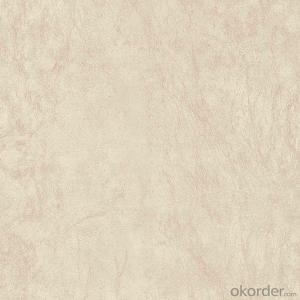
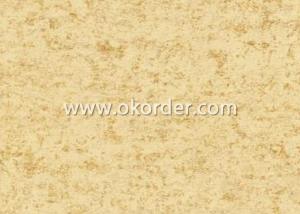
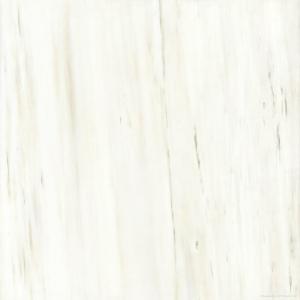
Glazed Porcelain Tile Cement Stone Series MA60R/60T
- Ref Price:
-

- Loading Port:
- China main port
- Payment Terms:
- TT OR LC
- Min Order Qty:
- 1267.2
- Supply Capability:
- 100000 m²/month
OKorder Service Pledge
OKorder Financial Service
You Might Also Like


Product Brief Introduction
Glazed Porcelain Tile Cement Stone Series MA60R/60T is one of the most popular color of Glazed Porcelain Serie, which is one serie of Polished Porcelain Tile in the present market.Glazed polished tiles are on the basis of the traditional polishing brick surface glazing and polishing products, whole set polished tile and glazed ceramic products archaize brick both advantages in one, not only glaze as smooth as polished tile brightening, like archaize brick pattern of design and color is rich, thick gorgeous color, natural texture, and the environmental protection and energy saving, service life long advantages and the low barriers to entry.
Product Features
Glazed Porcelain Tile,
Only Grade AAA available
Strict control on color shade, deformation, anti-pollution, surface glossy degree as well as packing
Competitive price
Standard export packing: Pater Carton+ Wooden Pallet
Fast delivery
OEM service could be offered
Marketing support on samples, catalogues as well as carton designing
Professional sales team for product, document and schedule of importing and exporting.
Product Specification
Tile Type: Porcelain Tile
Quality standard: GB/T4100-2006, ISO13006, ISO9001
Water Absorption Rate: 《0.5%
Breaking Strength: 》 1800 N
Rupture Modulus: 》40 MPa
Length and Width Tolerance: ±0.1%
Surface Smoothness: ±0.15%
Packing Information (For 27.5 Tons heavy 20’Fcl)
For 600x600mm, 4pcs/Ctn, 40 Ctns/Pallet, 960 Ctns/20’Fcl, 1382.4m2/20’Fcl
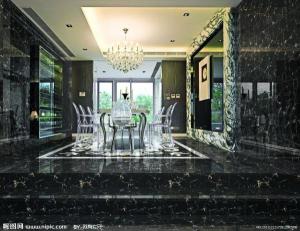
Production Line & Package


FAQ
1. For Polished Porcelain Tile, is the 30*60 available?
—— Yes, 30*60 is available. Due to the basic size is 60*60, we need to cut 60*60 tile into 30*60. 6 pcs are packed into one carton.
2. What is the MOQ for this tile?
—— Normally the MOQ is 1382.4 m2 for one 20’ container. To support our clients, we could go with 3 models to fill one container at most.
3. Can we use the carton with our own design and brand name?
—— Yes. Normally we go with Neutral Carton or our Carton with our CMAX brand name. But for carton of client’s own design, the MOQ for one size is 5 containers, due to the carton factory can’t arrange production if quantity is below 5000 pcs.
4. Why choose our Floor Tile?
1). Less investment and shorter lead time because we ship tiles directly from Factory.
2). Better ETD and more stable price bacause we keep abundant stock for future needs.
5. What exhibition we joined?
1). Canton Fair (every year)
2). Dubai Big 5
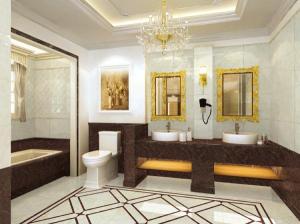
6. How to choose bathroom tiles? Porcelain tiles or glazed tiles?
Currently used in the bathroom tiles with glazed tiles (mainly from price considerations, some high-end can choose tiles, notice to choose tiles), divided into Shinny and Matt two kinds.
- Q: How can I find out how many tiles I need to buy?
- It is sold by the s/f ,even if you buy a 8x8 tile for example. Some places will only sell in whole boxes.You ll need extra for cuts and waste anyway. When buying from the big box places ,look and make sure you get all the same dye lot and run number. If you buy from the mom and pop store, you ll get the same dye lot always. Should you need help figuring the area send me the measurements and tile size and I ll figure it for you. Go thru my avatar to get my e mail GL
- Q: I am tiling a bathroom, and have found a deal on 4 tiles. However, I am no expert when it comes to calculating, and am having difficulty determining how many tiles I should buy. I don‘t want to buy much too many, or even much worse, not buy enough.I am planning to do 3 different areas in the bathroom. I have included the measurements, in inches, of each area. Can you help me out?
- you would be able to desire to borrow a tile cutter so which you would be able to shrink tiles to greater healthful into the corners, and an prolonged spirit point (the longer the greater constructive). you in addition to would choose a on the instant wood batten and a few nails. If the area of the tub isn't point, you could restoration the batten to the wall with the nails, and lay your first row of tiles alongside the batten. Then while they're dry and caught good, eliminate the batten and the nails, and glue all your different tiles up against the row you have in simple terms fixed. Then purchase your tiles, some glue, some grout and a few plastic spacers. you in addition to would choose a plastic thingy to coach the glue with (you commonly get one loose once you purchase the glue) Then plan very carefully precisely the place the tiles will bypass, earlier you particularly initiate artwork. you will desire to centre the tiles on the centre of the tub, in different words, the centre of the midsection tile (or, if favourite, the connect between the two midsection tiles) will bypass on the midsection of the tub. restoration your midsection tile(s) first, then pass outwards from there. in case you have a window, you additionally should centre your tiles on the centre of the window.
- Q: My granddaughter dropped a hard toy while being held by her Mom. It put a quarter size hole in the center of my ceramic tile. How can I go about filling this hole?
- Porcelain Tile Repair Kit
- Q: I am looking at purchasing a home but on the disclosure form from the seller, it shows that there is asbetos tiles on the basement floor.I know asbetos is a problem but in this case how much would it cost to remove it? should this be a deal breaker?
- Carpet, Tiles and floating floors.
- Q: I‘m installing a kitchen back splash of 1 x 1 glass tile. Right now there is drywall where the tile will be. I‘ve read that it is better to use cement backing board as a substrate. Is this really necessary or can I just use thin-set to mount the tile directly to the drywall and then grout as usual? Thanks for your help!
- Hello Samsonite, I would have to disagree with using mastic. If you were using something that had a good absorption rate it's be different, but glass is so dense it'd take forever for the mastic to set up. Most manufacturers of glass tiles recommend using highly modified thinset (Customs Building Product's Megaflex at HD or TEC's Superflex at a tile supplier). I have found the Superflex to have the most brilliant white color when cured, providing the best background for your colors to shine. Drywall will be fine. You may want to key in the mortar you choose by flat troweling it on the drywall before combing your notches. This helps to ensure 100% coverage. For more detailed info, tips, and pics of other DIYer's jobs please visit the site in my profile. :)
- Q: I have a few ceramic tiles on my kitchen backs plash that do not match my new kitchen color. Can I paint them? If so, how? Thank you.
- Use the KILZ Premium primer a late paint, after first washing well. I found the TSP cleaner now in a liquid at lowes. the paint store guy didnt think it existed.
- Q: I wanted to remove three lines of bathroom wall tiles without distrubing other surrounding tiles. These tiles were fixed on cement around 5 months back.. now we can see cracks on these tiles (different color)..
- Use a masonry bit and drill hole in the center of tile to be removed. The larger the hole the easier it will be to get tile removal started. Be sure not to drill deeper than the thickness if the tile you don't want holes in the backer. Then take a small chisel and tap firmly to start removing the tile. Be sure to protect the tub from damage from falling tile ann be sure to wear eye protection and gloves. Broken tile is very sharp.
- Q: What is the tile material?
- Tile with kaolin is basically no mainly clay-based quality of the tiles are now a large number of stone slag to stone-based bottom of the bottom of this tile is relatively hard quality is better
- Q: i will be laying tiles o my bathroom floor and i am wondering if HomeDepot or Lowes do the tile cutting. i dont want to purchase the wet saw. i will need to cut tiles for corners and things like that. Thanks.
- My Lowes in Chantilly, VA cuts tiles. Just had a couple cut yesterday. They do not want to cut tiles that they did not sell to you though since they cannot replace if the tile cracks or they cut it badly. However, if you assure them that you have spares and won't hold them responsible if the tile cracks or cut is bad they will do for you.
- Q: What is the finish height of tile after grout and tile??? For example if I were to lay tile how much would it bring up the floor?? 1half inch???
- Depends on the thickness of your tile. Thinset is usually installed using a 1/4x1/4x1/4 notched trowel which translates to about 1/8 after tile are set on average. The average floor tile is about 3/8 which combined comes to 1/2 total thickness of product. Hope that helps.
Send your message to us
Glazed Porcelain Tile Cement Stone Series MA60R/60T
- Ref Price:
-
- Loading Port:
- China main port
- Payment Terms:
- TT OR LC
- Min Order Qty:
- 1267.2
- Supply Capability:
- 100000 m²/month
OKorder Service Pledge
OKorder Financial Service
Similar products

Hot products

Hot Searches

