
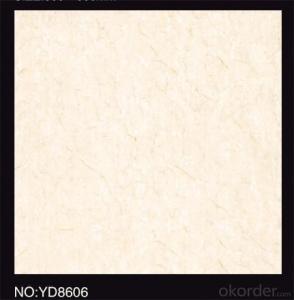
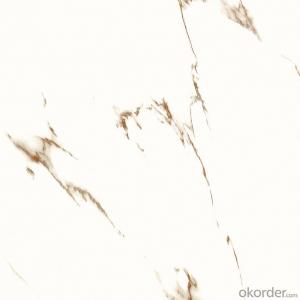
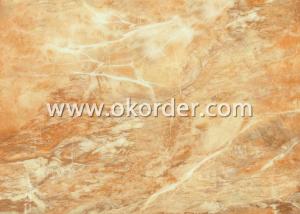
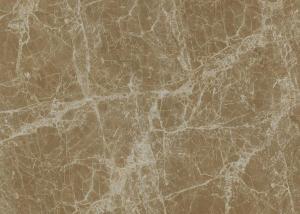
Full Polished Glazed Porcelain Tile 600 YDL6BB219
- Ref Price:
-

- Loading Port:
- Guangzhou
- Payment Terms:
- TT OR LC
- Min Order Qty:
- 1267.2
- Supply Capability:
- 100000 m²/month
OKorder Service Pledge
OKorder Financial Service
You Might Also Like


Product Brief Introduction
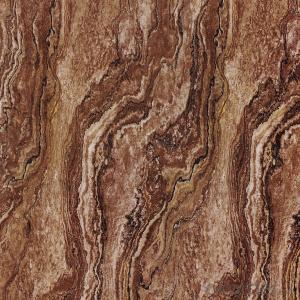
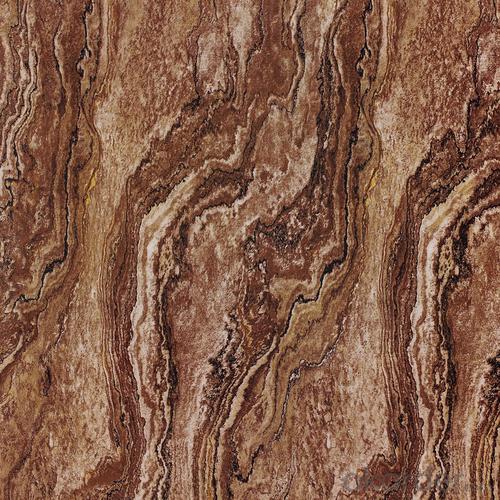
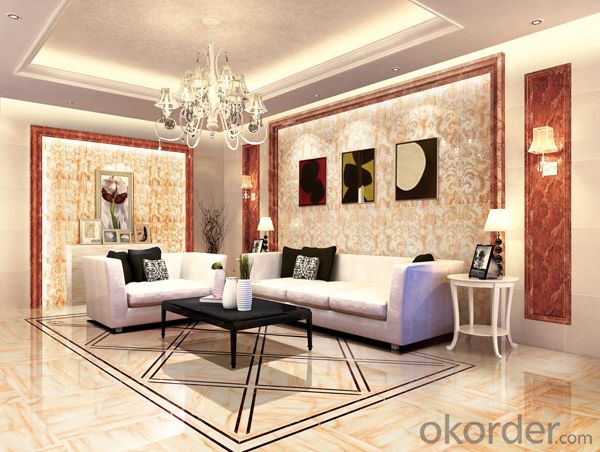
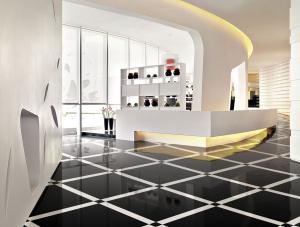
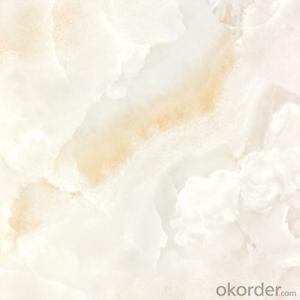
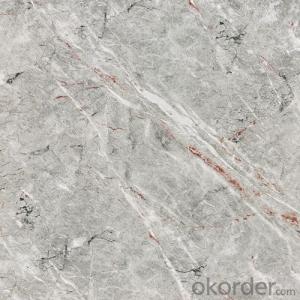
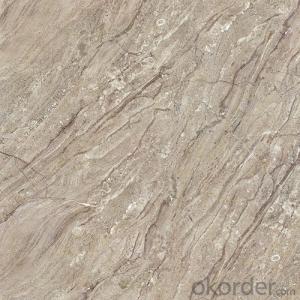
Full Polished Glazed Porcelain Tile 600 YDL6BB219 is one of the most popular color of Crystal Jade Serie, which is one serie of Polished Porcelain Tile in the present market. Just like other series, it could be used for interior floor for apartment, villa, super market as well as other public areas, due to its being high glossy and clean, homogeneous color shade as well as the reasonable price compared with natural stones.
Product Features
Polished Porcelain Tile, Double Loading
Only Grade AAA available
Strict control on color shade, deformation, anti-pollution, surface glossy degree as well as packing
Standard export packing: Pater Carton+ Wooden Pallet
Marketing support on samples, catalogues as well as carton designing
Professional sales team for product, document and schedule of importing and exporting.
Product Specification
Tile Type: Polished Porcelain Tile
Quality standard: GB/T4100-2006, ISO13006, ISO9001
Water Absorption Rate: 《0.5%
Breaking Strength: 》 1800 N
Rupture Modulus: 》40 MPa
Packing Information (For 27.5 Tons heavy 20’Fcl)
For 600x600mm, 4pcs/Ctn, 40 Ctns/Pallet, 960 Ctns/20’Fcl, 1382.4m2/20’Fcl
For 800x800mm, 3pcs/Ctn, 28 Ctns/Pallet, 616 Ctns/20’Fcl, 1182.72m2/20’Fcl
Production Line & Package


FAQ
1. For Polished Porcelain Tile, is the 30*60 available?
—— Yes, 30*60 is available. Due to the basic size is 60*60, we need to cut 60*60 tile into 30*60. 6 pcs are packed into one carton.
2. What is the MOQ for this tile?
—— Normally the MOQ is 1382.4 m2 for one 20’ container. To support our clients, we could go with 3 models to fill one container at most.
3. Can we use the carton with our own design and brand name?
—— Yes. Normally we go with Neutral Carton or our Carton with our CMAX brand name. But for carton of client’s own design, the MOQ for one size is 5 containers, due to the carton factory can’t arrange production if quantity is below 5000 pcs.
• More than 9 years tile exporting experience, USD 200 million sales every year.
• More than 13 years tile factory running-well management experience.
• Excellent quality and Competitive price, OEM is available.
• Widely professional exporting experience all over the world.
- Q: I have recently glued mosaic (mirrior finish) tiles onto a wall of mine, however I have noticed a few tiles, have almost sorta withered away at the back, it also almost looks as if the mirror backing scraped away, now giving more of a clear look. I would now want to remove some of the tiles out, Would it be advisable to use a chisel and hammer, to chip away the tile, or is there anything I can use to repair the tile.Much Appreciated
- I'm not sure if the tiles are individual, or part of a mat. Either way I wouldn't use a chisel because you could damage the surrounding tiles, you could loosen the backing (mirror finish) of the surrounding tiles, and you could even damage the backing the tile is attached to, especially if it's attached to drywall instead of backerboard. First you want to cut through any grout. You can buy a cheap blade for this, or if you have a dremel tool or something similar, they make inexpensive grout removal tips. If there isn't any grout, you'll need to cut through the webbing if the tiles came attached to each other. You can do this with a knife, box cutter etc... At this point the only thing holding the tile in will be the glue. At this point you can gently use a chisel to break the bond. Hold the chisel upside-down, so the back of the chisel faces you and the angle is against the wall. Some call this paring, basically it allows the chisel to ride across the surface cutting behind the tile. Using it the standard way will cause the chisel to dig into the drywall or backerboard. Hope this helps, e-mail with any questions, Alan
- Q: I have a commercial pool thats about 100 years old ( with modern modifications). The ceramic tiles on the floor area are original. We have been begged by just about everyone not to replace them. It looks soo dirty. Our comepetition is more expensive.....water quality is horrible....and their pools are packed all day. Im lucky to get 5 people in an 18 hour day. The water and inside the pool look nice.....just getting to the pool...people think they will get a disease. Its just old age stain....not sure what that is exactly.
- I okorder /... Re-sealing the tiles is not a permanent solution. Another alternative is to find matching tiles, and remove a strip wide enough for a walkway, and re-tile with the new, modern tiles. Sometimes old meets new can look terrific.
- Q: i have just bought a house and my ceiling tiles needs cleaning. i would like to know if anyone out there knows what i can use to clean them. the ceiling tiles has dust but also has mildew on some of them. i don‘t want to replace them, i just want to clean them for now. thank you everyone.
- depends on what the tiles are made out of you idiot....
- Q: Looking to install ceramic tile over concrete basement slab, 12x12 or 13x13 tiles. Main question is how perfectly level/flat does the concrete need to be. If I put a tile down and there is some minor rocking is that no good or will the thinset adhesive take care of that.
- Any rocking means the tile is hitting either a high spot or there is a low spot. Low spots can be dealt with the thin set. As long as its less than a 1/4. High spots usually needs to be ground down flat. So to answer your question , for ease of installation and the prevention of cracked tiles at a later date, floors need to be as flat as possible. If you have minor rocking with no thin set down, in some cases a larger sized trowel will do the trick. Each case is different and has to be dealt with differently. Any questions you can e mail me through my avatar and check my qualifications there. GL
- Q: I wanted to remove three lines of bathroom wall tiles without distrubing other surrounding tiles. These tiles were fixed on cement around 5 months back.. now we can see cracks on these tiles (different color)..
- in the tile section at homedepot they make a hand held grout saw that you can use to remove the grout from around these tiles once you do they you can gently pry up a little bit to remove the tiles, if they were set good they shouldn't come out in one piece so put something on the floor and in the tub so as not to chip anything.
- Q: Following on from my previous question about tiles... I had asked if it's better to remove them or tile over the top. At that time, I thought they were bedded in the same stuff as the bathroom tiles were upstairs which was a very fine and compacted sandy stuff that was not set.However, after trying to remove a couple of the mosaic floor tiles in the kitchen, it seems they are bedded in the actual concrete floor itself !!! and instead of being able to remove them, it just chips the tile and breaks off the surface somewhat. They're extremely difficult to remove so: Will my new tiles be completely ok if set on top of these? can you please let me know how to prepare them and what to look out for?Height-wise it doesn't matter, I'll simply order shorter doors. I'm really concerned about the long term strength because it's a kitchen that will get a lot of use / humidity/ etc...Thank you
- looks like a serious problem...but u cannot tile over tiles-they will cause slipping and the fresh tiles will never set. best-use a really heavy tool to break the tiles and sewwp off the chips... then overlay with a finishing smooth layer of concrete and embed ur new tiles in it
- Q: What brand of ceramic tile is good
- Shengbang tiles for tiles and concrete surface bonding, as well as inside and outside the wall side, facade and ground bonding and decorative materials between the filling and bonding, leveling. (Environmental glue, water-based plastic, sticky wood, such as plastic)
- Q: we ‘tiled‘ one wall and it was our original plan to do just that one.but now,a lot of tile has been not used (of what we bought) and the shopkeeper wouldn‘t take it back.what should we do?we can‘t do an entire another wall because we don‘t have that much tile but,it‘s still a lot.pleease help :)
- Give them to the local school for art and craft. Keep some for spares though.
- Q: I am in the process of installing a slate floor in my mudroom. The durock has been laid, and the tiles cut and sealed, and I‘m ready to start using the medium set to secure the tiles in place, but as I‘ve never laid slate (or any tile) before, I have some questions. 1. The tiles are in place now how I want them, do I have to take up the tiles row by row before I start mortaring them in place, or can I do 1 or 2 tiles at a time?2. I laid the tiles out starting from the center and working outwards. When I lay the tiles in place do I again start at the center, or do I start from the edges, or doesn‘t it matter?3. What is the best way to prevent lippage? As this is slate there is a good amount of variation. Do I just back butter each tile so that it is as high as the highest tile in the room? How do I manage to do that properly?
- Others might disagree, but here's what I suggest: 1. I take up at least a few rows of tile at a time, carefully stacking them in order. 2. Layout should always be done using a center line. There are options for the installation: - If you carefully snap or draw lines for each row on the Durorock and do not use spacers you can start wherever you want, for example against a far wall so that you don't work your way into a corner. - If you only use a center line and rely upon spacers, then you need to start at the center. Tiles tend to drift from each other slightly when you install using spacers, so if you start in the center and work in both directions the net drift toward the edge will be half as much as it would if you work from one edge all the way to the other. - I always draw lines for each row when I do a diagonal installation. I install the longest row first and the work away from it toward the opposite corners. 3. Once I mix a batch of thinset, I don't want to fuss much with tile thickness. So before I even lay the slate tiles out on the floor I sort them from thickest to thinnest. Individual tiles often vary in thickness from one corner to the other; others might have consistent thickness but be dished (not flat). These tiles are candidates to be cut for edge pieces, or they might not be worth using at all. Anyway, I layout the tiles from thickest on one side of the room to thinnest on the other and only need to butter a thin corner of that occasional irregular tile that is pretty enough to be worth the hassle. 4. See my answer to 2.
- Q: We want to put the same sticky tile over the existing tile just stagger them. Will that be unstable or should we remove the old ones...which seems like work lol
- You need to remove the old tile.
Send your message to us
Full Polished Glazed Porcelain Tile 600 YDL6BB219
- Ref Price:
-
- Loading Port:
- Guangzhou
- Payment Terms:
- TT OR LC
- Min Order Qty:
- 1267.2
- Supply Capability:
- 100000 m²/month
OKorder Service Pledge
OKorder Financial Service
Similar products
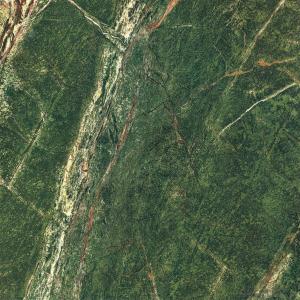


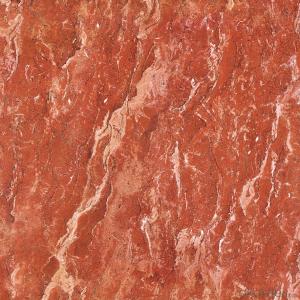
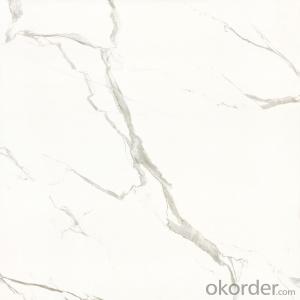
Hot products

Hot Searches

