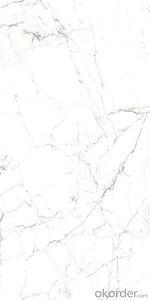
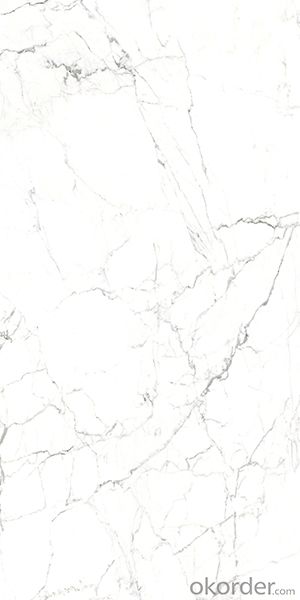
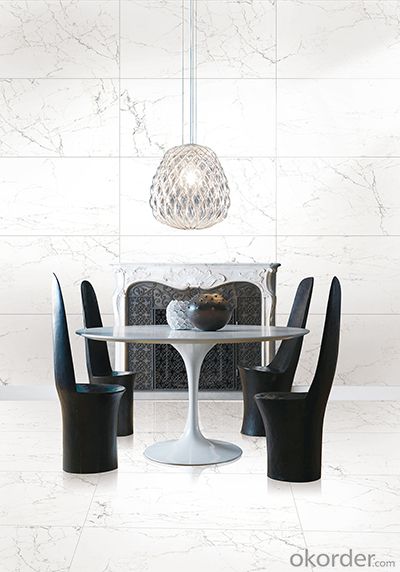
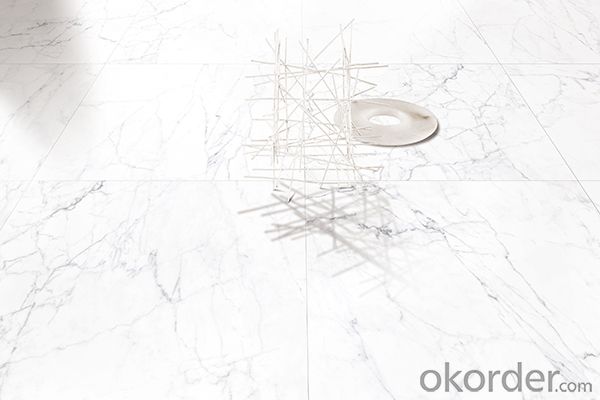
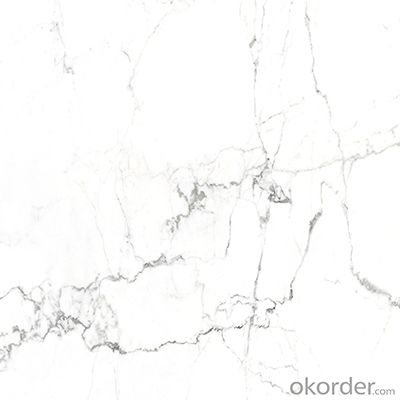
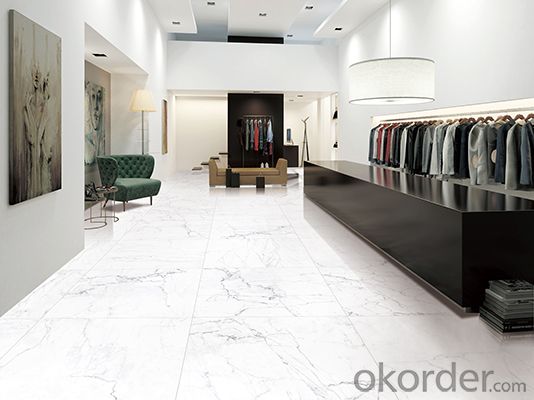
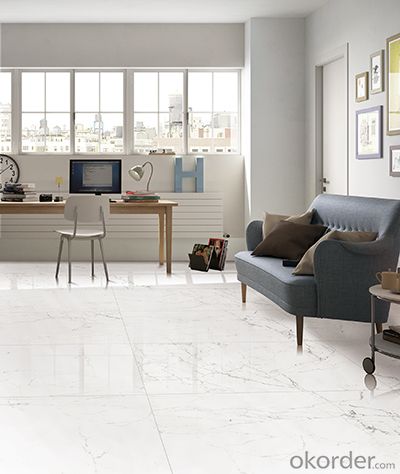
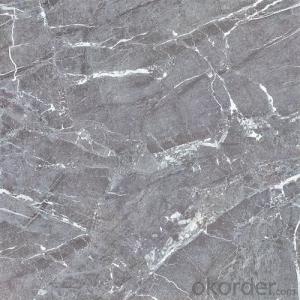
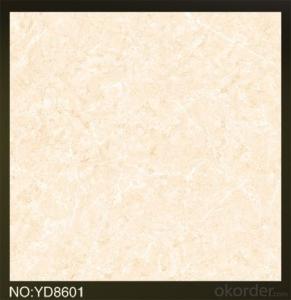
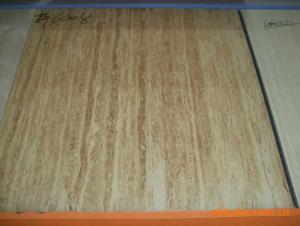
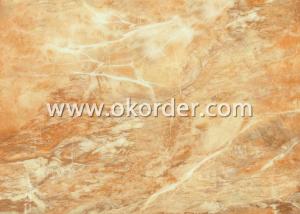
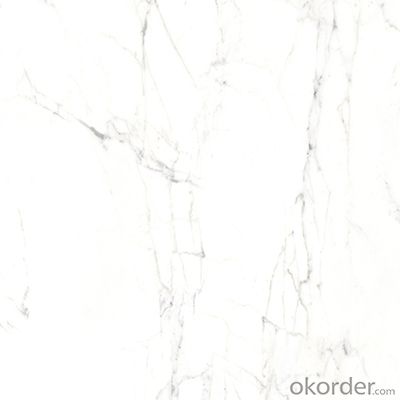
CARRARA MARBLE DESIGN LOOK TILE 60X60 60X120
- Loading Port:
- Shekou
- Payment Terms:
- TT OR LC
- Min Order Qty:
- 50 m²
- Supply Capability:
- 20000 m²/month
OKorder Service Pledge
OKorder Financial Service
You Might Also Like
600*600mm Carrar marble look tile
Sizes: 600 x 600,600*1200mm, GRADE:AAA
Thicknesses: 9.5-10.5mm
Water absorption: 0.5%
Surface: Polished
Min. order quantity:500 SQM
Certificates: CE and ISO9001
Usage area: Be suitable for market, hospital, metro, school, office building, hotel, real estate, bar and living room etc.
Package: standard export paper carton with wooden pallet
Payment terms: T/T or irrevocable L/C at sight
Delivery time: With 20 days after deposit
Product Parameter | |
Surface Finish | Glazed |
Size | 600x600mm 600x120mm |
MOQ | 3-4 items can be mixed in 1x20Gp is in stock |
Packing details | 850CTN-1224M2/20GP |
OEM | Designs can be produced according to your requirement |
Payment terms | T/T,L/C ,WESTERN UNION |
Test Item | GB/T4100.1-2010 | Test Result |
Length Tolerance | Length | 599.7~600.0 |
Side Straight | ±0.2 | -0.04~+0.05 |
Right Angle | ±0.2 | -0.05~+0.04 |
Surface Flatness | Center curvature | -0.04~+0.04 |
Surface Quality | Aminimum of 95% of the tiles shall be free from visible defects | No visible defects |
Water Absorption | Mean value E≤0.5 | 0.08 |
Breaking Pressure | When the thickness is ≥7.5mm, the average shall be ≥1300 | 1764.6 |
Modulus of Rupture | Mean value ≥35 | 37.2 |
Luster Degree | ≥55 | 70-73 |
Abrasion Resistance | ≤175 | 131 |
Resistance to Frost | No crack or peeling | No |
Resistance to Household Chemical Reagent | Not lower than UB level | UA level |
Resistance to Chemical of Swimming Pool | Not lower than UB level | UA level |
SIZE/mm | PCS/CTN | KG/CTN | SQM/CTN | CTN/20 | SQM/20' | KG/20' |
600x600 | 4 | 32 | 1.44 | 864 | 1244.16 | 27000 |
600x1200 | 2 | 35 | 1.44 | 768 | 1105.92 | 27000 |
- Q: I am remodeling a small bathroom only 39sq ft. I had someone come out and give me an estimate, he brought a sample of a job he did and tried to sell me on that design, which will NOT complement my existing fixtures, since my existing fixtures are fairly new, I decided to reuse those to save me money. Anyways, this sample he brought me used 16in tiles, since my bathroom is so small, I think huge tile will make it seem even smaller and claustrophobic, I was thinking 1in-4in tiles, but this guy insists that large tile will make the small bathroom seem larger, is there any truth to this? Also, what is a good price to pay, I want the tub replaced, the tile around the tub, replace the small window, flip the sink and toilet so that the sink sits where the toilet is at and the toilet where the sink is, maybe re-tile the floor. Any input would be appreciated. Thanks!
- Small tiles will make the room look larger. Your other plans are going to cost a bundle, especially switching the toilet and sink positions.
- Q: so i bought tile but not the bull nose end pieces cause they did not have them for that tile. I tiled all the way out to the edge of the counter and now need a way to finish the edge. I have seen wood edges but what is this called and how do you do it? does it butt up against the tile of does it go over? is a wet tile saw supposed to leave ugly, chipped edges? bought a Brand new blade and it did not help.
- I agree with most of the answers already submitted. My preference for your finish would be the stained oak trim. In my opinion- a wood edge finish for a tiled counter is always superior to other finishes because this edge gets a lot of abuse and the wood can handle it without cracking, breaking or chipping. As for the chipped edges from your tile saw. There are a variety of qualities to blades and saws and tile. You've been challenged by probably not the highest quality in all categories. Not to worry- if you get a sanding stone available at your home repair store you can give the edge a quick rub to smooth the worst of the cuts.
- Q: I was thinking of installing ceramic floor tiles for countertop in order to save money. I will use 1/16 joints with a dark tile and dark grout. The edges will be mahogoney or oak. I would think that floor tile would hold up better because it is thicker and more durable. Anybody have experience with installing this type on counters? tx in advance..
- It will hold up, but don't buy a real shiny one with no texture at all. Because everything will show on it and they will eventually scratch. Also a good idea is the dark grout inbetween. Beware of placing mahogony or oak on the edge as it will warp and lose its color eventually from water, I would put a beautiful tile edging instead. Also try to make a design on the backsplash..It really looks georgeous, such as making the tiles diamond shape, and a straight tile border on top and bottom. Absolutely georgeous. My friend has that look and it is so lovely. My daughter in law has ceramic tile counter tops and they are georgeous. The back splash has a beautiful italian fountain design which my son did by himself by purchasing the special tile to place right by the sink. Good Luck on your project.
- Q: How to remove the 502 glue on the tile
- 1, with banana water droplets in the glue on the same time with the old toothbrush constantly stirring, until the glue trace soft off, and then clean water, repeated brushing, brush so far. In the presence of glue traces of clothing on the back of the pad of absorbent cloth, and then to the glue traces painted some white vinegar, and finally with cotton dipped in water scrub clean. 2, in the original place drops 502 to melt the original 502, and then quickly washed off with water. 3, with insulating oil, pouring the transformer in the insulating oil on the table, 502 glue quickly become soft, you can quickly rub off. 4,502 glue is a resin glue, as long as the resin can be dissolved with organic solvents, such as acetone. But inhaled acetone toxic, pay attention to the use of methods, you can put the part of the glue into the bottle. It is said to be frozen in the refrigerator, glue will fall, you can try it first. 5, a small area of adhesive 502 glue, as long as the hot water can be soaked, if a large area stained with 502 glue, coated with acetone, about 5 to 10 minutes can be removed.
- Q: The tile is one week old. I have had the company pull tiles, regrout and patch. I have new cracks every day. Can I reasonable ask them to start over?
- Are you keeping the grout moist? When you get new tile, you should mop the floor every day with warm water. That should keep the grout from cracking on you. You can sure ask the company to start over. No one wants a cracked tile floor.
- Q: I want to remove all the white tiles in my kitchen as some are broken, others don‘t match up and basicially who ever tiled it initially may have been intoxicated, some have come off easy, but others are stuck on tight, tried using a chisel hammer to smash them, but they would splinter and smash like glass, does anyone know a easier less messier way i can do this?
- Well- this is demo and its never pretty. Try getting behind it and working it with a pry bar, Perhaps it will come off in bigger pieces . Please wear gloves and googles as tile shards will cut you like a razor.
- Q: I have to remove the old tiles and install new ones. Please can someone who does this for a living guide me in the right direction?
- Remove the old tile and dry wall or what ever wall board is behind the tile, put up a vapor barrier, reset a cement board product and tile. Tile with a thin set , never a mastic in this type of area. This is a general guide to the basics, you need more specifics, since its to much detail to go in here...E mail me through my avatar and check my qualifications there. GL
- Q: I was wondering about space between tile when laying tile floor. I have seen online and in person tile floors(don‘t know marble or porcelain or what) where it is completely flat and smooth and the tiles appear butted together. I prefer this look as opposed to the typical tile floor with grout lines that are shallower than the tops of the tile. I was wondering how to get this flat look when every where I have read online says you cannot or at least should not butt tiles together. I hope I described what im looking for accurately and am hoping to get some options. Again I am looking for a flat smooth surface nothing with the dips or recesses of the grout lines. how is that done??
- What you want all depends on the type of tile you choose. Granites and marbles you can do this with.There are some vitrified tiles that this can be done with. These are cut (the 2 stones) this way to butt them almost all the way together.Vitrified tiles are formed with the edges slanted so you butt them together.. These are all made to use a very small grout joint but you still need to have grout. Most all other ceramic and porcelain tiles you need a slightly bigger joint and only as small as 3/16 .The type of grout these require you can only do a joint that small. Any questions you can e mail me through my avatar and check my qualifications there. GL
- Q: A roofing tile falls from rest off the roof of a building. An observer from across the street notices that it takes 0.32 s for the tile to pass between two windowsills that are 3.49 m apart. How far is the sill of the upper window from the roof of the building?
- Called Vx the speed the tile has reached in free falling mode at the upper window's sill span = 3.49 = (Vx+(Vx+g*t)/2*t 6.98 = 2Vx*0.32+9.8*0.32^2 5.976 = 0.64Vx Vx = 5.976/0.64 = 9.34 m/sec (tile speed at the sill of the upper window) falling time tf = Vx/g = 9.34/9.8 = 0.953 sec (from roof to the sill of the upper window) h = 1/2gt^2 = 4.9*0.953^2 = 4.45 m h = Vx^2/2g = 9.34^2/19.6 = 4.45 m
- Q: Ok.. what i mean is this. Let‘s say you have hard tile beside the toliet and water damaged occured. Once you press down on the tile you can actually feel the weakness in the tile.. Does this automatically determine bad subflooring or is it possible just bad tile, Can I just killz over the subflooring repaint and lay new tile?
- Does the tile wobble? It could mean the adhesive under the tile has deteriorated because of water leaks. Can you get under the floor and look up?
Send your message to us
CARRARA MARBLE DESIGN LOOK TILE 60X60 60X120
- Loading Port:
- Shekou
- Payment Terms:
- TT OR LC
- Min Order Qty:
- 50 m²
- Supply Capability:
- 20000 m²/month
OKorder Service Pledge
OKorder Financial Service
Similar products
Hot products
Hot Searches
