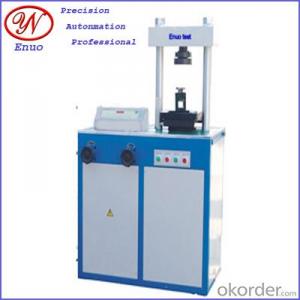
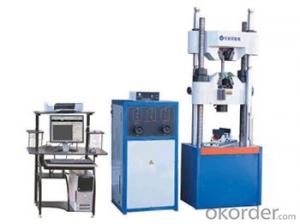
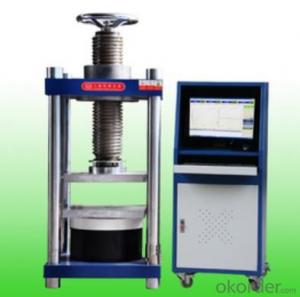
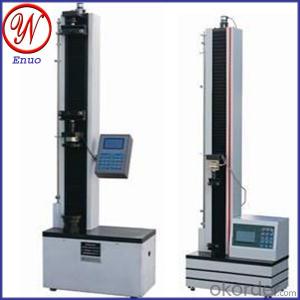
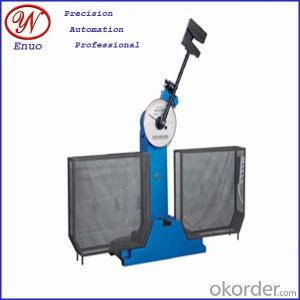
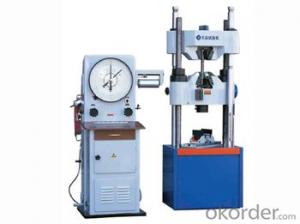
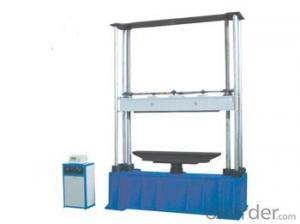
Electro-hydraulic compressive test instrument
- Loading Port:
- China Main Port
- Payment Terms:
- TT OR LC
- Min Order Qty:
- -
- Supply Capability:
- -
OKorder Service Pledge
OKorder Financial Service
You Might Also Like
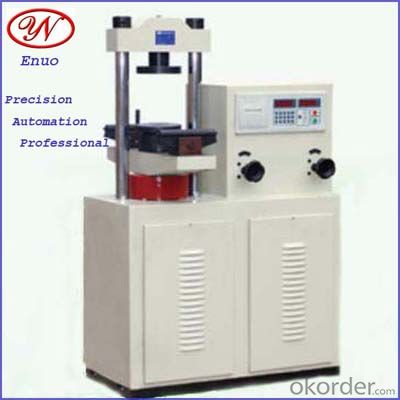
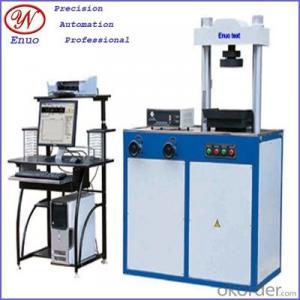
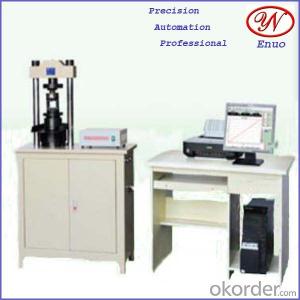
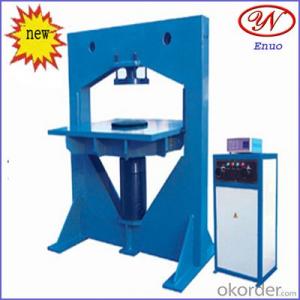
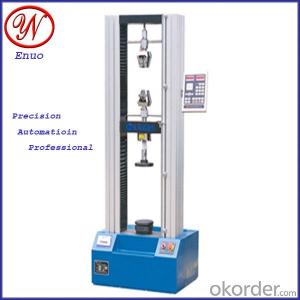
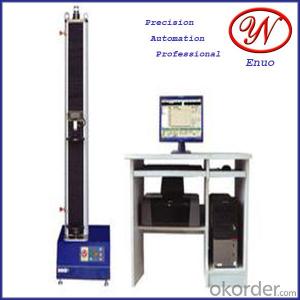
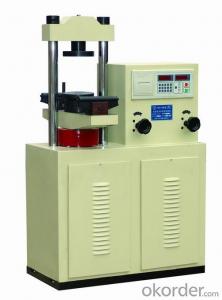
Steel pipe compressive test machine is mainly used for brick, stone, cement, concrete and other building materials, compressive strength test, can also be used to test the mechanical properties of other materials.
Machine Summary:
This compressive test instrument is mainly used for brick, stone, cement, concrete and other building
materials,compressive strength test, can also be used to test the mechanical properties of other materials.
Hydraulic System:
The oil tank is sucked through the filter screen and be inhaled pump oil ,through the petroleum pipeline of
oil pump transport to oil valve,When the hand wheel to send off the oil, due to the role of oil will push the
piston, the oil from the return pipe to tank,when the hand wheel to open get the oil, then the working fluid into
the fuel tank through the tubing, pressure tubing through and through oil return valve to tank.
Control System:
Electro-hydraulic compressive test instrument adopts hydraulic loading, electronic measuring, with a load of
figures, the loading rate shows that the maximum load to maintain, as well as overload protection and power
data retention and other functions.
Safety Protection Device:
When the test force more than 3% of the maximum test force, the overload protection, oil pump motor shut down.
Fixture:
Whole set fixtures include: a set compression platen fixture
Technical Parameter:
Model | Compressive test instrument | ||
Max load |
(resist bend) |
300kN (resist bend) | 302kN (resist bend and compress) |
Test force measuring range | 4%-100%FS KN | ||
Test force showed the relative error | ≤indicating value±1% | ||
Test Force Resolution | 0.01KN | ||
Hydraulic pump rated pressure | 27MPa | ||
Bearing compress plate size | φ155mm | ||
Maximum distance between the upper and lower plate | 230mm | ||
Resist bending roll diameter | φ32mm | ||
Maximum distance between the upper and lower resist bending rollers | 165mm | ||
Between two bending rollers upon the center distance | 150mm | ||
Between two bending rollers under the center distance | 450mm | ||
Piston diameter | φ130mm | ||
Piston stroke | 80mm | ||
Motor power | 3 phase 0.75 kW | ||
Outside dimension | 850×620×1340mm | ||
Net weight | 400Kg | ||
- Q: What kind of oil is it in the oil filled pressure gauge?
- Don't talk nonsense! What you said is the general vibration proof pressure gauge, silicone oil filling. Other oils do not work
- Q: For example, a 1.6 mpa. How do you measure it?!
- Multimeter hit 2K (digital table), measuring remote table above three terminals in any two terminals: if it is 400 Ou mother, these two is high-end, low-end, and the rest that is the sliding end (middle end). Next, the access line, if the clock indicating pressure increases, while the display is declining, the high-end, low-end swap line.In general, three terminals, the bottom is the middle end, the middle is high-end, and the top is the low-end. Consistent with the electric contact pressure gauge.Have a try.
- Q: What does the water pressure meter MPa stand for?
- A unit of pressure, kpa. M refers to millions, and Pa is the unit of pressure, Pascal's abbreviation.
- Q: For example, I want to stop the pump before the pump pressure signal and now, through the pump pressure signal, adjusting the frequency of the pump, to ensure the pump pressure at a fixed value, it will the pressure signal through the pressure transmitter is good or remote pressure gauge? Shall I use the remote pressure gauge before pumping and use the pressure transmitter after the pump? Is the electric contact pressure meter reliable?
- The remote pressure gauge is suitable for measuring the pressure of liquid, steam and gas which can not corrode the steel and copper alloy.The instrument is provided with a slide line resistance transmitter, the measured value to the value of electricity to two meters away from the measuring point, to realize centralized monitoring and remote control, the instrument can also indicate the pressure, in order to facilitate the on-site process inspection.The meter consists of a spring tube, a pressure gauge, a slide wire, a resistance transmitter, etc..The function principle of the mechanical part of the remote pressure gauge is the same as that of the common spring tube pressure gauge.Because the resistance transmitter is arranged on the gear drive, so when the fan gear shaft gear transmission mechanism of deflection, rotating arm resistance transmitter (brush) corresponding to the deflection due to sliding on the resistor, brush, change make the changes in the measured value of pressure change as the resistance value, and to the two instrument, indicating a corresponding reading value. At the same time, the primary instrument also indicates the corresponding pressure value.Two kinds of pressure transmitter pressure of the measured medium into high and low pressure chamber two, role in the delta element (i.e. sensitive element) on both sides of the diaphragm, by filling liquid on both sides is transmitted to the measuring diaphragm and the element in isolation. Measure the electrodes on the diaphragm and the insulation plate on both sides to form a 4-20mA standard signal output by the capacitor and send it to the program control system.
- Q: How do remote pressure gauges receive frequency conversion?
- This is unable to access and control the frequency converter. The remote pressure gauge (resistance output) should be adopted - PG control board or pressure controller (resistance input / voltage output) - frequency converter (selection frequency, external control / voltage input)
- Q: The composition of the pressure gauge?
- Flat tube, gear, pointer, dial, case, joint.
- Q: What is the maximum working pressure 6Mpa? How much do you want to fit the pressure gauge?
- Selection of measuring range1, when the pressure is stable, the upper limit of measurement range is 1/3 2/3,2 measuring the fluctuating pressure, the upper limit of the measurement range of 1/3~1/23 measuring high and medium pressure (greater than 4MPa) shall not exceed 1/2 of the upper limit of instrument measurement range
- Q: How do you use this? How about two pointers? Don't use that kind of book. It's just as the saying goes, "take it step by step, how to use it. Thank you."!!!
- Blue red yellow high, connected with a low voltage, connected with vacuum pump, blue red switch full open, vacuum pump work for 10 minutes, then the blue red switch closed, wait 10 minutes, see the table pointer has no change, no change can add refrigerant, the refrigerant pipe connecting the first yellow bottle. Che Zifa, the cold medium, yellow head spin open air open blue switch, will be added, such as pointer does not move, turn off the blue switch, air conditioning, open blue switch, with a good bottle, then turn off the blue switch, change the refrigerant, then how much should be.! The red tube switch is always closed! Remember!
- Q: What are the differences between axial pressure gauges and radial pressure gauges?
- Very simply. The thread that is mounted behind the surface is called an axial pressure gauge; the thread below the surface is called the radial pressure gauge.
- Q: What is the coefficient of error for the 2.5 grade pressure meter?
- The calculation formula is that: the pressure of the table - pressure of the standard table / standard meter, the pressure *100% is less than or equal to 2.5% to be qualified.
Send your message to us
Electro-hydraulic compressive test instrument
- Loading Port:
- China Main Port
- Payment Terms:
- TT OR LC
- Min Order Qty:
- -
- Supply Capability:
- -
OKorder Service Pledge
OKorder Financial Service
Similar products
Hot products
Hot Searches
Related keywords

