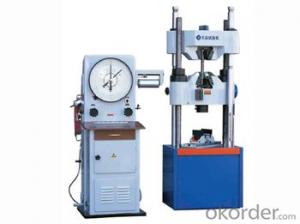
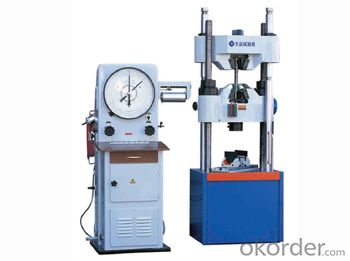
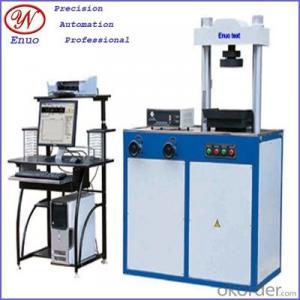
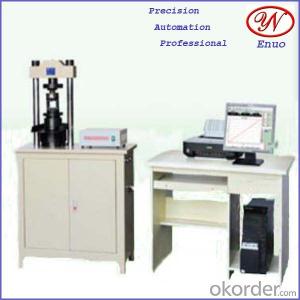
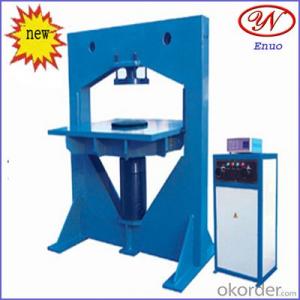
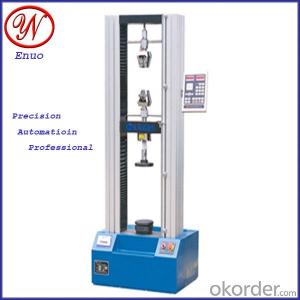
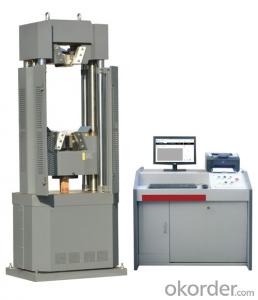
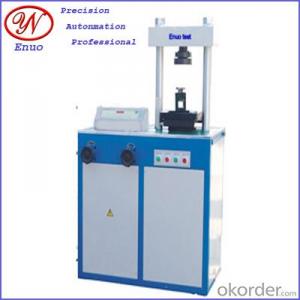
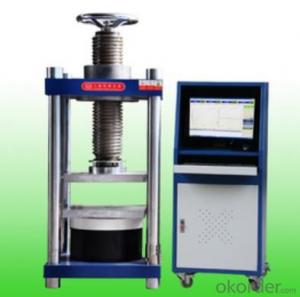
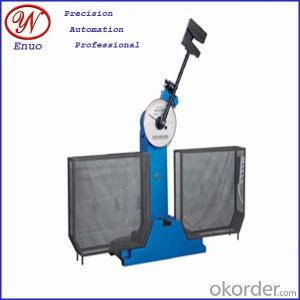
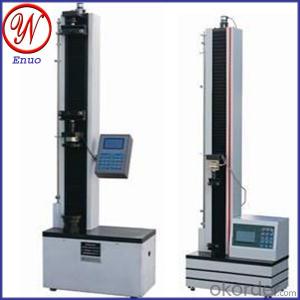
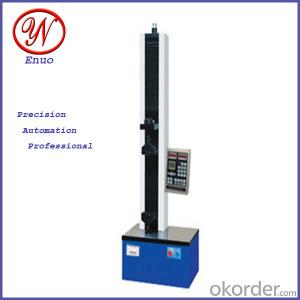
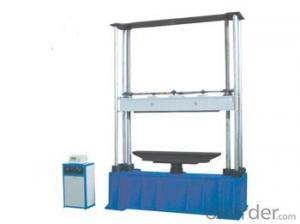
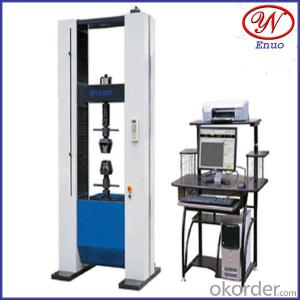
WE Series Dial Type Hydraulic Universal Testing Machine
- Loading Port:
- China Main Port
- Payment Terms:
- TT OR LC
- Min Order Qty:
- -
- Supply Capability:
- -
OKorder Service Pledge
OKorder Financial Service
You Might Also Like
Main functions
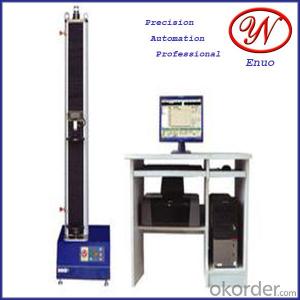
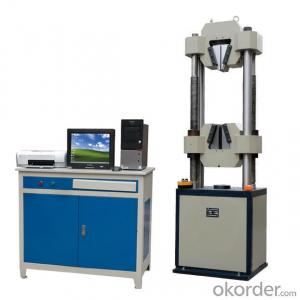
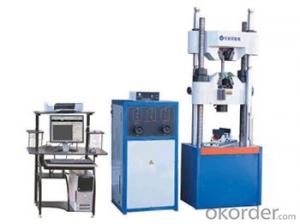
This series machines are mainly designed for tension, compression, bending and cutting test of metal materials and meet with the requirements of GB/T228-2002”Metallic materials-Tensile testing at room temperature”. This machine is also used for compression and bending test of nonmetal materials, such as cement, concrete and so on. Equipping with special auxiliaries, it can be used for mechanical property testing of fastener, wire rope and components. They are ideal testing instrument for project quality testing section, university and college, research institution and industrial and mining enterprise.
Product features
1. This machine adopts oil cylinder overhead (underneath) type structure, hydraulic load, hydraulic or manually clamping specimen.
2. The main machine is separated with ergo meter, connected by high-pressure oil pipe and wire,avoiding the influence of ergo meter degree when the specimen is breaking, which makes the value accurate.
3. Testing force indicator dial adopts closed type, which makes scale clear.
4. Loading speed indicator makes operation more convenient. It has three kinds speed: 0.4 rotor/min, 0.8rotor/min and 2rotor/min.
5. Automatic tracer is installed upright of ergo meter shell and can magnify the straining original shape by 2 or 4 times according to the requirements of test.
Ⅲ、Product catalogue
WE-A Oil cylinder overhead type
WE Oil cylinder underneath type Displacement of beams
WE-B Oil cylinder underneath type Displacement of chain
Ⅳ、Technical specifications:
SPECIFICATION | WE-100B | WE-300 | WE-300B | WE-600 | WE-600B | WE-1000 | WE-1000B | ||
Measuring range andminimum scale (scl.) | 0-20kN 0.04kN/ scl. 0-50kN 0.1kN/ scl. 0-100kN 0.2kN/ scl. | 0-60kN 0.2kN/ scl. 0-150kN 0.5kN/ scl. 0-300kN 1.5kN/ scl. | 0-120kN 0.5kN/ scl. 0-300kN 1kN/ scl. 0-600kN 2kN scl. | 0-200kN 1kN/ scl. 0-500kN 2kN/ scl. 0-1000kN 5kN/ scl. | |||||
Accuracy of testing force | ±1% | ||||||||
Deformation zoom factor of tracing device | 2:1or4:1 | ||||||||
Thickness of flat specimen(mm) | 0-15 | 0-15 | 0-30 | 0-40 | |||||
Maximum clamping width of flat specimen (mm) | 40 | 70 | 70 | 120 | |||||
Testing space (mm) | tension | 550 | 750 | 620 | 800 | 690 | 650 | 620 | |
compression | 500 | 650 | 550 | 700 | 620 | 600 | 580 | ||
Clamping diameter for round specimen (mm) | ф6-ф22 | ф13-ф32 | ф13-ф40 | φ13-φ60 | φ14-φ45 | ||||
Platen size(mm) | ф100 | ф130 | ф120 | ф180 | 170×170 | 200×200 | 205×205 | ||
Distance of bending by pass roll(mm) | 30-400 | 30-580 | 100-320 | 30-580 | 100-500 | 30-800 | 100-500 | ||
Maximum piston stroke(mm) | 150 | 250(B type:150) | |||||||
Power supply | 380V±10%,50Hz | ||||||||
Working environment | 10℃~30℃, relative humidity≤80% | ||||||||
Overall dimension (L×W×H)(㎜) | Host machine | — | 900×730×2270 | 900×730×2330 | 1070×850×2530 | ||||
B type host machine | 730×500×2000 | 800×500×1950 | 950×630×2265 | 980×650×2220 | |||||
Ergo meter | 1070×810×1730 | ||||||||
Weight(kg) | 1370 | 2720 | 2000 | 3020 | 2500 | 4120 | 3300 | ||
- Q: Precision pressure gauge manufacturers can achieve precision 0.05 pressure gauges?
- The accuracy of the digital table is followed by 2.5, 1.6, 0.5, 0.4, 0.2, 0.1, 0.05
- Q: What are the thread connections of the pressure gauges?
- There are three sizes of M10*1, M14*1.5 and M20*1.5 specifications
- Q: Why is the manifold pressure gauge called the manifold pressure gauge, not the air conditioning pressure gauge group?
- The manifold pressure gauge is called the manifold pressure meter, which means it can measure the pressure of a plurality of pipes, and the manifold is the meaning of the manifold;Turn left and turn right |Manifold pressure gauge structure as shown, mainly by the high pressure meter, low pressure table, high pressure manual valve, low pressure manual valve, valve body and 3 hose joints. High and low pressure meters are used to detect the pressure at the high and low side of the refrigeration system. Low pressure side pressure gauge is used to display the pressure, are also used to show the degree of vacuum, vacuum pressure reading range is 0~0.101MPa, graduated from the beginning of 0, shock process is not less than 0.42MPa; the pressure range of pressure meter to measure the high side from the beginning of 0, the range of not less than 0.211MPa.
- Q: 2.5mpq and 6mpq models of pressure gauges are used, please teach master
- Is there a mistake in your pressure unit? It should be Mpa. The pressure gauge is usually a direct thread connection, and then the pressure of the system is detected. I don't know which way you want it
- Q: Please show the hydraulic gauge is what pressure? Know the hydraulic piston area with hydraulic products area, how to calculate the pressure?
- Hydraulic gauge display is connected with the hydraulic oil pressure oil chamberGenerally international standards MPa, readings, if converted to our national standard pressure value multiplied by 10, for example, the pressure gauge shows 2MPa, converted to GB is 20 kilograms of pressure, that is, the 20 standard atmospheric pressureBar is a unit of pressure 1bar=100000, Pascal, and another one of our common KGF is almost 1:1.In China, we usually use the "kilogram" to describe the pressure of the gas (not the "Jin"). The unit of body is "kg/cm2", and a kilogram of pressure is one kilogram of force acting on one square.While in a foreign country commonly used unit is "Psi", the unit is "lb/in2", is "psi", this unit like Fahrenheit (F).In addition, there are pressure units such as Pa (Pascal, Newton, one square meter), KPa, Mpa, Bar, millimeter water column, millimeter mercury column, etc..1 bar (bar) =0.1 MPa (MPa) =100 kPa (KPa) =1.0197 kg / cm21 standard atmospheric pressure (ATM) =0.101325 MPa (MPa) =1.0333 bar (bar)Because the unit is very small difference, you are not engineering staff. So, you can remember that:1 bar (bar) =1 standard atmospheric pressure (ATM) =1 kg / cm2 =100 kPa (KPa) =0.1 MPa (MPa)
- Q: What pressure gauges are used in a pressure vessel?
- Pressure gauges for 0-0.1Mpa range for normal pressure vessels. If the pressure is small, you can use the Kpa table.The selection of pressure gauges has the following requirements:(1) the pressure gauge selected must be adapted to the medium in the pressure vessel. Because some mediums are corrosive to the material used in the pressure gauge, it should be noted that the material used in the pressure gauge cannot be physically and chemically reacted with the medium in the pressure vessel installed.(2) the accuracy of pressure gauges used in low pressure vessels shall not be lower than 2.5; the accuracy of pressure gauges used in medium and high pressure vessels shall not be lower than 1.5.(3) the limit value of the pressure dial scale should be 1.5-3.0 times of the highest working pressure, and the best choice is 2 times. Dial diameter should not be small, dry 100 mm.
- Q: What kind of pressure gauges do you need for repairing refrigerators?
- At least two, one is low voltage with negative pressure, the other is without negative pressure measurement of high pressure, one end of the refrigerant bottle or not connected, and the other end of the expansion bell mouth of the copper pipe reception test pipeline. When you go to the accessories store, the boss will tell you.
- Q: What will happen to the calibration process if the calibrator of the pressure gauge is not clean?
- Fluctuations resulting in inaccurate calibration of the pressure gauge.
- Q: Because our company is currently using the electric contact pressure gauge, a year or so down, the scene will always appear or big or small problems, I would like to ask the current market can buy a table, which a few do better? ThanksIn addition the seismic electric contact pressure gauge? What's the oil spill?
- The mechanical contact mechanism of electric contact pressure meter, the load required conditions, the standard requirements of the on-off times is 30 thousand. The formal product manufacturers usually can meet this requirement, the market of some cheap products may not be able to guarantee the effective operation of 30 thousand times.But in fact, a lot of pressure alternating and contact break through frequent work conditions, the 30 thousand corresponding work life is relatively short, so many stations on the electric contact pressure gauge life is not longIn addition, if the working voltage of the instrument is DC low voltage, but no special DC low voltage electric contact pressure gauge is adopted, the service life of the instrument is very short due to its serious arc pulling
- Q: The water remote pressure gauge hands swing frequently do?
- 1, pointer rotation slow or jitterReason:1, the transmission parts of the clearance is too small, the transmission is not flexible, increase the gap, or add a little Watch Oil2, moving parts between the active parts of fouling, transmission is not working, cleaning, rust removal, in addition to dirt or replacement transmission3, the free end and connecting rod connection is not flexible, adjust the connection mode until flexible4, the pointer with the dial, table cover friction, correct the pointer, thicken the glass lining below2, the needle rotation is not smoothReason:1 、 the sector gear tilts to correct or replace the gear2, the needle axis bending, straightening needle axis3, plywood bending, correcting the flatness of plywood4, the pillar tilts, causes the upper and lower plywood not to parallel, correct the strut, the addition and subtraction washer, causes the splint parallel3, pointer jitter bigReason:1, measured medium pressure fluctuations, close the valve opening2, the gear is not good, adjust the gear with the state3, the needle sleeve and shaft coordination is not good, adjust repair pointer sleeve and shaft clearance gap
Send your message to us
WE Series Dial Type Hydraulic Universal Testing Machine
- Loading Port:
- China Main Port
- Payment Terms:
- TT OR LC
- Min Order Qty:
- -
- Supply Capability:
- -
OKorder Service Pledge
OKorder Financial Service
Similar products
Hot products
Hot Searches
Related keywords
