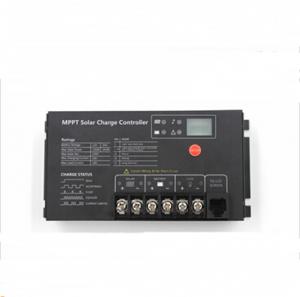

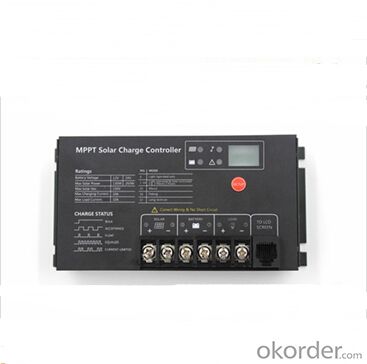
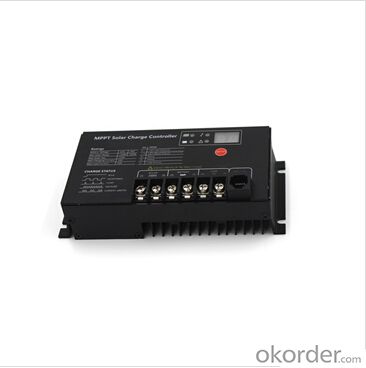
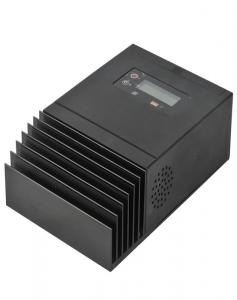
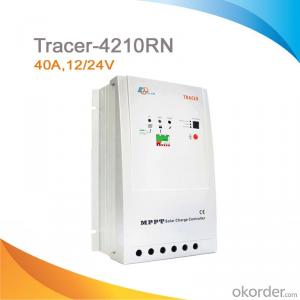
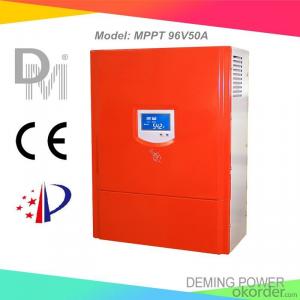
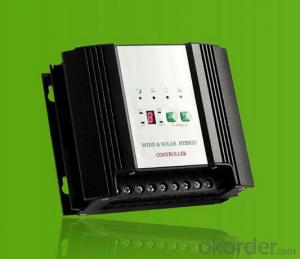
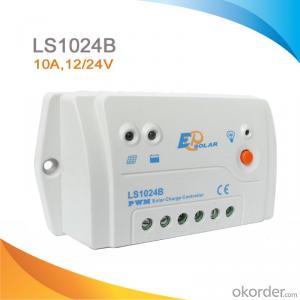
Sunsaver Solar Controllers - Energy System Controllers 10A MPPT -12V/24V SR-MT
- Ref Price:
-

- Loading Port:
- China Main Port
- Payment Terms:
- TT or LC
- Min Order Qty:
- -
- Supply Capability:
- 10000 unit/month
OKorder Service Pledge
OKorder Financial Service
You Might Also Like
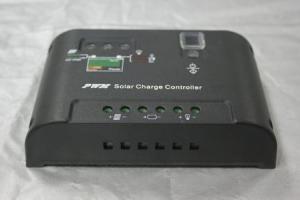
Features:
1. Mini size, high power density.
2. Various load control methods.
3. IP65 waterproof degree, metal shell.
4. Various system protection function.
5. Suitable use for home system and LED light.
6. The MPPT efficiency could reach up to 99.95%.
7. The energy conversion efficiency reach up to 97%.
8. The charging efficiency is 15%~20% higher than PWM mode.
9. With temperature compensation function to improve the life of the battery
10. Four stage charging mode:MPPT-equalizing charge-ascending charge-floating charge.
Electronic Protections:
·PV array short circuit
·Over discharging
·Over charging
·Load overload
·Load short circuit
·PV reverse polarity
·Battery reverse polarity
Name | Value |
System voltage | 12V/24V Auto |
Rated Load current | 10A |
Rated charging current | 10A |
Max input power(PV) | 130W/12V; 260W/24V |
No load loss | <10mA |
Solar input voltage | < 55V |
Transfer efficiency | ≤97% |
MPPT tracking efficiency | >99.92% |
Over voltage protection | 16.5V;×2/24V |
Charging limited voltage | 15.5V;×2/24V |
Equalizing charging voltage | 15.2V;×2/24V(25°C) |
Equalizing charging interval | 30 days |
Boost charging voltage | 14.4V;×2/24V(25°C) |
Float charging voltage | 13.8V;×2/24V(25°C) |
Return voltage for over-discharging | 12.5V;×2/24V |
over-discharging voltage | 11.0V;×2/24V |
Boost voltage charging time | 2hous |
Equalizing voltage charging time | 1hour |
Temperature compensation | -4.0mv/°C/2V; |
Over Temperature protection | 80°C |
Light-control open voltage | 5V |
Light-control close voltage | 6V |
Lighting control delay | 5min |
Working temperature | -35°C~ +65°C; |
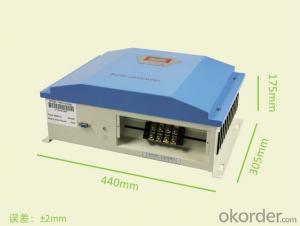
Waterproof degree | IP65 |
Weight | 380g |
Dimensions | 143×71× 36(mm)(L×W×H) |

Warrenty
provides a 1~3 year limited warranty (“Warranty”) against defects in materials
and workmanship for its Uninterruptible power supply, Power inverter/chargers,
Solar charge controllers, Battery Products (“Product”).
The term of this Warranty begins on the Product(s) initial purchase date,
or the date of receipt of the Product(s) by the end user, whichever is later.
This must be indicated on the invoice, bill of sale, and/or warranty registration
card submitted to MUST-Solar. This Warranty applies to the original MUST-Solar Product purchaser,
and is transferable only if the Product remains installed in the original use location.
FAQ:
Q1. What is the voltage?
A1. Our 45/60A solar charge controller is 12/24/36/48V auto work.
Q2. What is the difference between MPPT&PWM?
A2. MPPT has higher efficiency, it can track the max power point and won't waste energy.
Q3. What is the efficiency of the MPPT controller?
A3. MPPT>99%, peak conversion efficiency>98%.
- Q: What is the maximum temperature range that a solar controller can operate in?
- The maximum temperature range that a solar controller can operate in typically depends on the specific model and manufacturer. However, most solar controllers are designed to withstand temperature ranges between -40°C to 60°C (-40°F to 140°F) without experiencing any significant performance issues. Some high-quality controllers might have an even wider temperature range, allowing them to operate in more extreme climates. It is important to refer to the manufacturer's specifications and guidelines for the specific solar controller being used to ensure optimal performance and longevity in various temperature conditions.
- Q: Can a solar controller be used with solar-powered weather stations?
- Yes, a solar controller can be used with solar-powered weather stations. A solar controller is a device that regulates the charging and discharging of batteries in a solar power system. It ensures that the batteries are charged efficiently and protects them from overcharging or discharging. In the case of solar-powered weather stations, a solar controller is often used to manage the power generated by the solar panels and to charge the batteries that store the excess energy. This ensures that the weather station can operate even during periods of low sunlight or at night when there is no solar power generation. By using a solar controller, the weather station can optimize its power usage and extend the lifespan of the batteries by preventing them from being overcharged or completely discharged. It also provides protection against electrical surges and other potential issues that may arise in a solar power system. Overall, a solar controller is an essential component for managing and maintaining the power supply in solar-powered weather stations, ensuring their reliable operation and continuous data collection.
- Q: What is the maximum discharge current that a solar controller can handle?
- The maximum discharge current a solar controller can handle is determined by the specifications and capabilities of the particular model in use. Solar controllers are designed to regulate the current flow between the solar panels and the battery or load. Typically, they have a rating for the maximum discharge current, indicating the safe level at which the battery or load can be discharged. This rating ensures that the solar controller does not become overloaded and maintains efficient system operation. To determine the maximum discharge current a solar controller can handle, it is important to refer to the manufacturer's specifications or user manual. These documents provide detailed information about the controller's maximum discharge current rating, usually expressed in amps (A). Adhering to this rating is crucial to prevent damage to the controller and maintain the system's performance and longevity. Furthermore, it is important to note that the maximum discharge current may vary based on the type and size of the solar controller. Different models may have different capabilities due to their design, components, and intended applications. Thus, consulting the manufacturer's guidelines is essential for accurately determining the maximum discharge current for a specific solar controller.
- Q: Can a solar controller be used with a solar-powered marine system?
- Yes, a solar controller can be used with a solar-powered marine system. A solar controller regulates the charging and discharging of batteries connected to a solar panel system, ensuring optimal performance and preventing overcharging. This functionality is essential for maintaining and managing the power supply in a solar-powered marine system, making a solar controller a valuable component in such applications.
- Q: How does a solar controller handle lightning strikes or power surges?
- A solar controller is designed to protect the solar panel system from lightning strikes or power surges. It typically has built-in protection mechanisms to handle these situations. During a lightning strike or power surge, the solar controller will detect the sudden increase in voltage and current and activate its protective features. One of the main components that handle these events is the surge protector or transient voltage suppressor. This device is designed to divert the excess voltage and current away from the solar controller and the rest of the system. Additionally, the solar controller may have fuses or circuit breakers that will trip or blow in the event of a power surge or lightning strike. These protective devices are designed to interrupt the flow of electricity and prevent damage to the solar controller and other connected components. Furthermore, some solar controllers have built-in grounding mechanisms to dissipate the excess energy caused by lightning strikes. This grounding system helps to divert the energy safely into the ground, protecting the solar panel system from damage. It is important to note that while solar controllers have protective measures in place, they may not be able to completely eliminate the risk of damage from a direct lightning strike. In such cases, additional surge protection devices, like lightning arrestors or lightning rods, may be required to ensure the safety of the solar panel system. Overall, a solar controller is designed to handle lightning strikes or power surges by diverting excess energy, tripping fuses or circuit breakers, and utilizing grounding mechanisms to protect the system from damage.
- Q: What is the maximum load current for a solar controller?
- The maximum load current for a solar controller depends on its specifications and capacity. It can vary from controller to controller, but it is typically stated in the product's documentation or specifications.
- Q: How does a solar controller handle reverse current protection?
- A solar controller handles reverse current protection by utilizing diodes or solid-state devices that prevent the flow of current from the battery back into the solar panels when they are not generating electricity. This helps protect the panels from potential damage and ensures the battery remains charged properly.
- Q: How does a solar controller handle the protection against ground faults?
- A solar controller handles protection against ground faults by continuously monitoring the electrical current flowing between the solar panels and the battery bank. If a ground fault occurs, where there is an unintended electrical connection between the solar system and the ground, the controller detects the imbalance in current and immediately shuts off the system to prevent any potential damage or safety hazards.
- Q: How do you prevent over-discharging of batteries with a solar controller?
- One way to prevent over-discharging of batteries with a solar controller is by using a controller with a built-in low-voltage disconnect (LVD) feature. This feature automatically disconnects the load from the battery when its voltage drops to a predetermined level, protecting the battery from being over-discharged. Additionally, properly sizing the solar controller and battery bank according to the load's power requirements helps ensure that the battery is not drained beyond its safe operating limits.
- Q: How do I integrate a solar controller with my existing solar system?
- To integrate a solar controller with your existing solar system, you will need to follow a few steps. 1. Determine the compatibility: Check if the solar controller you have or plan to purchase is compatible with your existing solar system. Ensure it supports the same voltage and current rating as your solar panels and batteries. 2. Identify the connection points: Locate the connection points on your existing solar system where the solar controller needs to be connected. Typically, these include the solar panel array, battery bank, and load connections. 3. Install the solar controller: Mount the solar controller in a suitable location near your existing system. Ensure it is securely connected to a power source, such as a battery or AC power supply, for its own operation. 4. Connect the solar panels: Connect the positive and negative terminals of your solar panels to the corresponding input terminals on the solar controller. Follow the manufacturer's instructions for proper wiring and ensure all connections are secure. 5. Connect the battery bank: Connect the positive and negative terminals of your battery bank to the corresponding output terminals on the solar controller. Again, follow the manufacturer's instructions and ensure proper wiring for a safe and reliable connection. 6. Connect the load: If you have any loads that need to be powered by your solar system, connect them to the load terminals on the solar controller. Be mindful of the load's power requirements and make sure it is within the limits of your solar system and controller. 7. Configure the solar controller: Depending on the controller model, you may need to configure various settings, such as battery type, charging parameters, load control, etc. Refer to the controller's user manual to properly set up and optimize its performance. 8. Test and monitor: Once everything is connected, test the system by observing the charging status, load operation, and battery voltage. Regularly monitor the solar controller's performance to ensure it operates efficiently and effectively. Remember, if you are unsure about any step or lack the expertise, it is advisable to consult a professional electrician or solar system installer to ensure a safe and successful integration of your solar controller.
Send your message to us
Sunsaver Solar Controllers - Energy System Controllers 10A MPPT -12V/24V SR-MT
- Ref Price:
-
- Loading Port:
- China Main Port
- Payment Terms:
- TT or LC
- Min Order Qty:
- -
- Supply Capability:
- 10000 unit/month
OKorder Service Pledge
OKorder Financial Service
Similar products
Hot products

Hot Searches
Related keywords

