
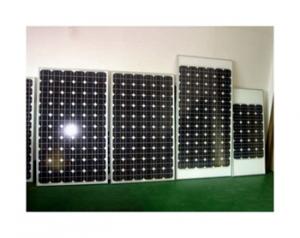

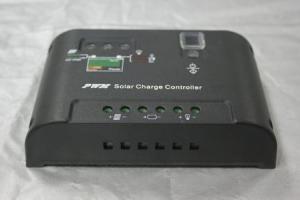
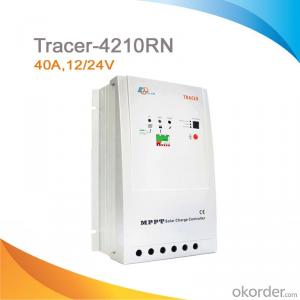
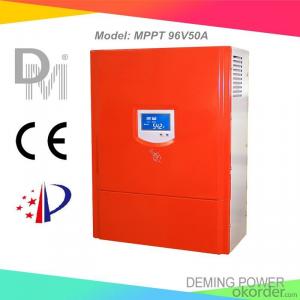
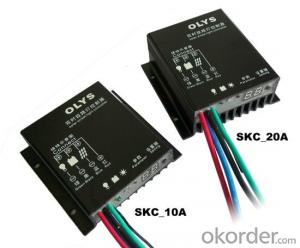
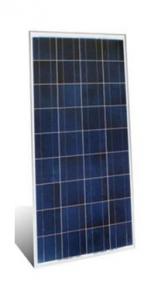
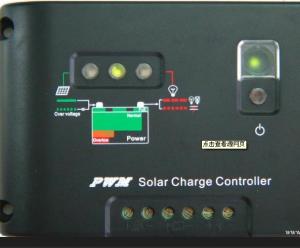
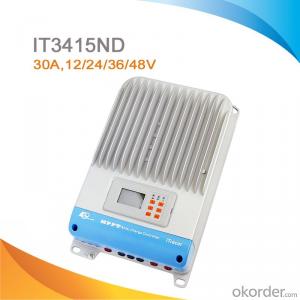
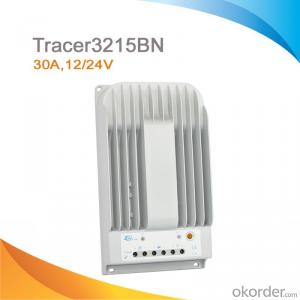
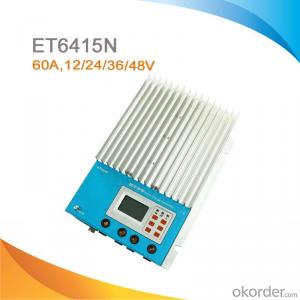
Best Solar Controllers for Poly-Crystalline 215W 156*156 Solar Modules
- Ref Price:
-

- Loading Port:
- Tianjin
- Payment Terms:
- TT or LC
- Min Order Qty:
- -
- Supply Capability:
- -
OKorder Service Pledge
OKorder Financial Service
You Might Also Like
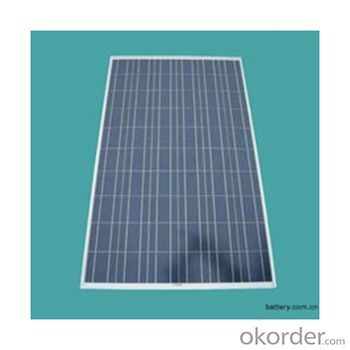
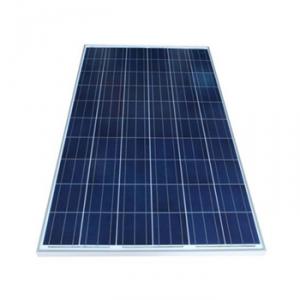
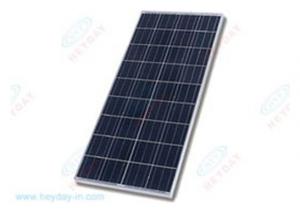
Solar Module Descriptions:
Solar Power Modules (known as Photovoltaics - PV) can generate electricity for your home or business, either as part of a stand-alone solar power system, or for buildings already connected to the local electricity network.
PV systems use the most abundant energy source on the planet, solar radiation, to generate electricity. They are silent, consume no fuel and generate no pollution. They also contribute to the reduction of greenhouse gas emissions; a 2kW PV system on a house will prevent the emission of about 40 tonnes of CO2 during its projected 30 year lifetime. Furthermore, the use of PV will reduce your electricity bills and exposure to fluctuating and steadily rising electricity prices.

Electrical Characteristics
Max-power (W) | 215 |
Max-Power Voltage (V) | 29 |
Max-Power Current (A) | 7.41 |
Open-Circuit Voltage (V) | 35.90 |
Short-Circuit Current (A) | 7.85 |
Mechanical Characteristics
Cable type, Diameter and Length | 4mm2, TUV certified, 1000mm |
Type of Connector | Compatible with MC4 plug |
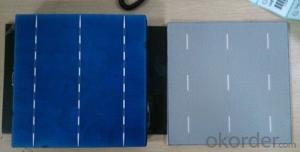
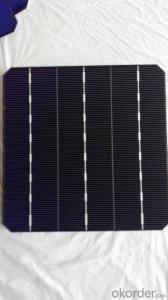
Arrangement of cells | 6*10 |
Cell Size | 156*156 |
Dimension | 1580*1069*45 |
Weight | 19.5Kg |
Glass, Type and Thickness | High Transmission, Low Iron, Tempered Glass 3.2mm |
Features
Guaranteed positive tolerance 0/+5w ensures power output reliability
Strong aluminum frames module can bear snow loads up to 5400Pa and wind loads up to 2400Pa.
Excellent performance under low light environments (mornings evenings and cloudy days)
12 years for product defects in materials and workmanship and 25 years for 80% of warranted minimum power.
Certifications and standards: IEC 61215.
Manufactured according to International Quality and Environment Management System (ISO9001, ISO14100).

FAQ
Q: Do you have any MOQ limit?
Our MOQ is 200 pieces.
Q: How long is the warranty period for the solar modules?
15 years 90% of its nominal power rating.
25 years 80% of its nominal power rating
- Q: Can a solar controller be used with solar panels that are connected to an inverter?
- Yes, a solar controller can be used with solar panels that are connected to an inverter. The solar controller helps regulate and optimize the charging process of the batteries connected to the solar panel system, regardless of whether an inverter is present or not.
- Q: Can a solar controller be used with a solar-powered RV?
- Yes, a solar controller can be used with a solar-powered RV. A solar controller helps regulate and optimize the charging process of the RV's battery bank by preventing overcharging and ensuring maximum efficiency. It helps manage the flow of power from the solar panels to the battery, allowing for a reliable and efficient solar charging system in an RV.
- Q: What is the installation process for a solar controller?
- The installation process for a solar controller typically involves a few simple steps. Firstly, you need to mount the controller in a suitable location near the solar panels and battery bank. The controller should be placed where it is easily accessible for monitoring and maintenance. Next, you will need to connect the solar panels to the controller. This usually involves connecting the positive and negative wires from the solar panels to the corresponding terminals on the controller. After that, you will need to connect the battery bank to the controller. Similar to the solar panel connection, you will need to connect the positive and negative wires from the battery bank to the appropriate terminals on the controller. Finally, you will need to connect any additional components, such as inverters or load terminals, to the controller if required. It is crucial to follow the manufacturer's instructions and safety guidelines during the installation process. It is also recommended to consult with a professional or an electrician if you are unsure or unfamiliar with electrical installations.
- Q: What is the maximum charging current a solar controller can provide?
- The maximum charging current a solar controller can provide depends on the specific model and its capabilities. It can range from a few amperes to several tens of amperes, depending on the installation size and requirements.
- Q: How does a solar controller handle high current flow from the solar panels?
- The solar controller, also referred to as a charge controller, plays a vital role in regulating the current from the solar panels to the battery bank. Its main function is to ensure that the batteries receive the proper amount of charge and prevent any harm caused by overcharging. To manage high current from the solar panels, the solar controller utilizes key mechanisms. Firstly, it employs either the pulse width modulation (PWM) or maximum power point tracking (MPPT) technique to efficiently convert the high current generated by the solar panels into the correct voltage and current required for battery charging. In the case of a PWM controller, it rapidly switches the connection between the solar panels and the battery bank on and off. This controls the current and voltage flow to match the battery's needs, effectively regulating the charging process and preventing excessive current from reaching the batteries. On the other hand, MPPT controllers use advanced algorithms and circuitry to track the maximum power point of the solar panels. This optimizes the energy conversion process by adjusting the voltage and current to maintain the maximum power output from the panels. As a result, the batteries are charged more efficiently. Furthermore, solar controllers incorporate various safety features to handle high current flow. These include built-in protections such as overcharge protection, short-circuit protection, and reverse polarity protection. These safeguards ensure the system remains safe and prevent any damage to the solar panels, batteries, or other connected components. In conclusion, a solar controller effectively manages high current flow from the solar panels through techniques like PWM or MPPT, optimizing the energy conversion process. It also includes safety features to protect the system and ensure the batteries receive the appropriate charge without any risk of damage.
- Q: How do I install a solar controller in my solar panel system?
- Installing a solar controller in your solar panel system is a relatively straightforward process. Here are the steps to guide you through the installation: 1. Determine the appropriate location: Find a suitable location near your solar panels where you can mount the solar controller. The controller should be protected from direct sunlight, rain, and extreme temperatures. 2. Gather the necessary tools: You will need a screwdriver, wire strippers, electrical tape, and mounting brackets (if not included with the solar controller). 3. Disconnect the solar panels: Before beginning the installation, disconnect the solar panels from the battery and the charge controller, if already installed. 4. Mount the solar controller: Attach the mounting brackets to the solar controller, and then secure the brackets to a suitable surface near the solar panels. Ensure the controller is easily accessible for future maintenance. 5. Connect the battery: Identify the battery terminals on the solar controller and connect the positive (+) and negative (-) leads from the battery. Make sure to follow the proper polarity to avoid damage. 6. Connect the solar panels: Locate the solar panel terminals on the controller and connect the positive (+) and negative (-) leads from the solar panels. Again, ensure the correct polarity to prevent any issues. 7. Secure the connections: Use wire strippers to strip off a small section of insulation from the ends of the wires. Insert the stripped wires into the appropriate terminals on the solar controller and tighten the screws to secure the connections. Ensure all connections are tight and secure. 8. Check the connections: Once all connections are made, double-check that everything is properly connected and tightened. Inspect for any frayed or damaged wires and repair or replace them as necessary. 9. Test the system: Reconnect the solar panels to the charge controller and battery. Turn on the solar panel system and monitor the solar controller to ensure it is functioning correctly. Check for any error or warning messages and troubleshoot accordingly. 10. Perform regular maintenance: After installation, regularly inspect the solar controller for any issues, clean the solar panels, and check the wiring connections. This will help ensure optimal performance and extend the lifespan of your solar panel system. Remember, if you are unsure about any step or lack the necessary electrical knowledge, it's best to consult a professional electrician or solar installer for assistance.
- Q: Can a solar controller be used in a solar-powered electric motorbike racing system?
- Yes, a solar controller can be used in a solar-powered electric motorbike racing system. A solar controller regulates and optimizes the charging process of the solar panels, ensuring efficient energy transfer to the batteries. In a solar-powered racing system, the solar controller would play a crucial role in managing the energy flow, maximizing the performance and longevity of the batteries, and ultimately enhancing the overall efficiency of the motorbike.
- Q: What are the advantages of using a PWM solar controller?
- There are several advantages of using a PWM (Pulse Width Modulation) solar controller. Firstly, PWM controllers are cost-effective and readily available in the market. They are simpler in design, making them less expensive compared to MPPT (Maximum Power Point Tracking) controllers. Secondly, PWM controllers are highly efficient in charging batteries. They can effectively regulate and control the charging process, preventing overcharging and extending the lifespan of the batteries. Additionally, PWM controllers are suitable for smaller solar power systems or applications where the solar panel voltage matches the battery voltage. They work well in situations where the solar panel array is not oversized or if the system operates at a high voltage. Furthermore, PWM controllers are easy to install and operate, making them a user-friendly option for individuals or businesses new to solar energy systems. They require minimal maintenance and typically have built-in protection features against overvoltage, overload, and short circuits. In summary, the advantages of using a PWM solar controller include cost-effectiveness, high charging efficiency, compatibility with smaller systems, ease of installation and operation, and built-in protection features.
- Q: Can a solar controller handle high temperatures?
- Yes, a solar controller is designed to handle high temperatures. It is typically built with heat-resistant materials and has built-in mechanisms to dissipate heat effectively, ensuring its proper functioning even in hot weather conditions.
- Q: How do I determine the maximum solar panel input voltage for a solar controller?
- To determine the maximum solar panel input voltage for a solar controller, you need to consider the specifications of the solar controller and the solar panels you are using. First, check the datasheet or user manual of the solar controller. Look for the maximum input voltage rating mentioned in the specifications section. This rating indicates the highest voltage that the controller can safely handle without causing damage or malfunctions. It is important to ensure that the solar panel's voltage does not exceed this maximum input voltage rating of the controller. Next, find the open circuit voltage (Voc) of your solar panels. This is the voltage produced by the panels when there is no load connected. You can usually find this information on the datasheet or product specification of the solar panels. Compare the open circuit voltage of your solar panels with the maximum input voltage rating of the solar controller. If the voltage of the solar panels is below or equal to the maximum input voltage rating of the controller, then the solar controller can safely handle the panels. However, if the voltage of your solar panels exceeds the maximum input voltage rating of the solar controller, you have a few options. One option is to use a step-down voltage converter or a voltage regulator to reduce the panel voltage to a level that is within the range supported by the controller. Another option is to consider using a different solar controller with a higher maximum input voltage rating that can handle the voltage of your solar panels. Ultimately, it is crucial to ensure that the solar panel voltage is within the limits specified by the solar controller to prevent any damage to the controller and ensure optimal performance of your solar power system.
Send your message to us
Best Solar Controllers for Poly-Crystalline 215W 156*156 Solar Modules
- Ref Price:
-
- Loading Port:
- Tianjin
- Payment Terms:
- TT or LC
- Min Order Qty:
- -
- Supply Capability:
- -
OKorder Service Pledge
OKorder Financial Service
Similar products

Hot products

Hot Searches
Related keywords

